
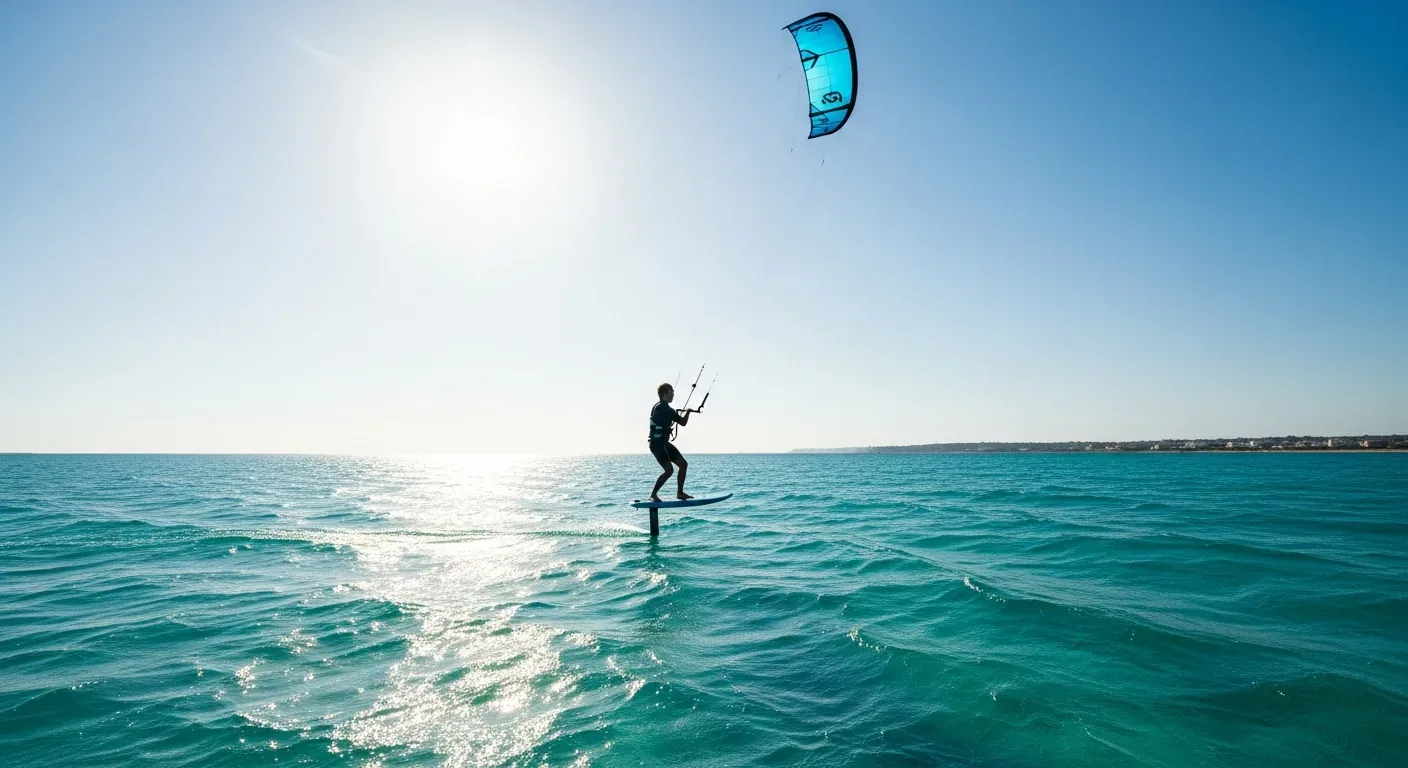
Kite foil is the discipline on everyone's lips in kitesurfing right now. Flying above the water from as little as 8 knots of wind, it delivers a unique kind of glide with far less physical effort. Here's what a kite foil beginner needs to know to get started with confidence.
1. What is kite foil?
Kite foil combines a kitesurfing kite with a board fitted with a hydrofoil, a structure shaped like a miniature aircraft and bolted underneath the board. Once you're going fast enough, the foil's wings generate lift and raise the board clear of the water. The rider then flies, roughly 60–90cm above the surface.
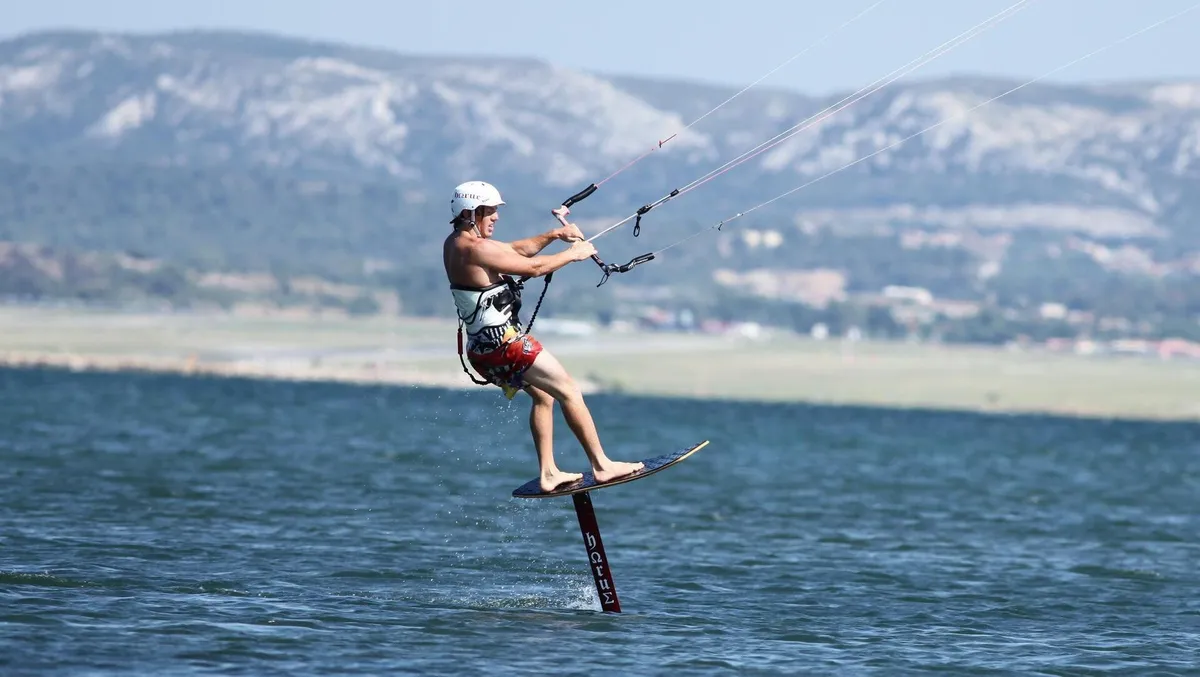
This is the same hydrodynamic principle used by sailing foilers and SUP foils. The key difference with kite foil is that it's the kite doing the pulling, not a sail or a paddle. The result is an incredibly smooth sensation of flight, without the chop of waves or the drag of a hull dragging through the water.
🔹 The parts of a hydrofoil
A foil is made up of four main components: the board (a dedicated foil board or a modified twin-tip), the mast (60 to 95cm), the fuselage (the horizontal arm connecting the mast to the wings) and the wings (front wing and rear wing/stabiliser). Every component affects how the foil behaves in flight.
2. Why kite foil is more accessible than you'd think
Contrary to what many assume, kite foil is a surprisingly accessible discipline once you've got the fundamentals of kitesurfing down. Here's why:
- A wider wind range: the foil flies from as little as 8 to 12 knots, where a classic twin-tip would struggle to get planing. You can ride sessions others are sitting out on the beach.
- An ultra-smooth ride: flying above the water means no chop, no bumps, no cross-swell breaking your rhythm. The glide is continuous and near-silent.
- Less physical: with no board friction against the water, the muscular effort involved is dramatically reduced. Sessions can run longer and tire you out less.
- Easier upwind riding: the foil offers an exceptional upwind angle. You go upwind almost like a sailing boat, with very little effort. It's one of the most appreciated advantages of foiling.
Kite foil isn't a discipline reserved for experts. If you can already ride independently in classic kitesurfing, the transition to foil typically takes 5 to 10 sessions. The learning curve is quicker than most people expect.
3. The gear you need to get started with kite foil
The foil board
To begin, choose a dedicated foil board rather than a modified twin-tip. Foil boards are wider (60–75cm), thicker and more stable. They offer enough volume (40–80 litres) for the water start and floating at the beginning of a session. 'Compact' or turf-style models are ideal for beginners because their shape reduces drag on take-off.
The mast
Mast height determines flying altitude. To begin, a mast of 75 to 85cm is recommended. The shorter the mast, the more stable and forgiving the foil. Masts of 90cm and above offer more performance but are less stable for your first sessions.
The fuselage
The fuselage connects the mast to the wings. Its length sets how stable the foil feels: a longer fuselage (85–95cm) gives more longitudinal stability, which makes learning easier. A short fuselage (65–75cm) is more manoeuvrable but demands more precision.
The front wing
This is the single most important part for a kite foil beginner. Front wing size determines your lift and your usable wind range:
🔹 Front wing size recommendations
1,500–1,800cm²: ideal for beginners. Maximum lift, an easy take-off from 8
knots, stable flight. Perfect for light-wind sessions and
learning.
1,200–1,500cm²: versatile, a good compromise between lift and
manoeuvrability, for riders keen to progress
quickly.
800–1,200cm²: more sporty, for stronger wind (15+ knots). Save
this for once you've mastered the basics.
The rear wing
The rear wing (or stabiliser) provides longitudinal stability. To begin, a rear wing with a larger surface and a flat profile offers the best compromise between stability and ease of use.
4. Choosing the right kite for foiling
Foil is ridden with smaller kites than classic twin-tip kitesurfing. The foil produces far less drag, so it needs less power to keep moving. Too big a kite will overpower you quickly.
Recommended kite size
- 8–12 knots: 9–12m² kite (light wind)
- 12–18 knots: 7–9m² kite
- 18–25 knots: 5–7m² kite
What type of kite should you choose?
Inflatable kites (LEI: Leading Edge Inflatable) remain the standard for kite foil thanks to their buoyancy (they float if they hit the water) and their rigid structure, which makes water relaunches easier. Recent kites designed specifically for foiling, such as the Duotone Juice, are particularly well regarded: their wind range is broad and their handling precise.
For a kite foil beginner, a 9m² LEI kite is the best starting point. It covers the 10–20 knot range, which accounts for the majority of foiling sessions on UK water. See our guide to kitesurfing gear for more detail on choosing a kite.
5. Prerequisites: what you need to know before you start
Kite foil is not a discipline for complete beginners. Before you even think about foiling, you need to have the fundamentals of kitesurfing under control, independently:
- A reliable water start: getting going from the water in both directions, without hesitation
- Riding both ways: comfortable on both tacks
- Going upwind: the ability to make it back to your starting point unassisted
- Managing the wind window: flying the kite, working the power zones and depowering
- Independent safety: self-rescue, understanding right of way on the water, reading the conditions and checking the Met Office marine forecast
If you're still learning to kitesurf, start with our advice on getting started in kitesurfing before you think about foiling. Reckon on 15 to 30 kitesurfing sessions before you're ready for the transition to foil.
6. Progression: your first kite foil sessions
Sessions 1–3: the first take-off
Your first sessions have one job, which is feeling the foil take off. Pick ideal conditions: 10 to 15 knots of wind, flat water, few other people around. Water-start in your normal stance on the foil board. At first, the board will pitch, slap the water, and settle again. That's normal.
Gradually you'll feel the board start to lift. The moment the foil takes off for the first time is an unforgettable one, all silence, smoothness and flight. Hold it for 2–3 seconds, then settle back down. Repeat the exercise until take-off becomes reliable.
Sessions 4–7: stabilising the flight
Once take-off clicks, the goal is to hold the flight over increasing distances. The answer is body weight control. On a foil it's body position that controls altitude, not the kite. Shift back to climb, forward to descend, and keep the movements tiny – millimetres of shift make all the difference.
Sessions 8–12: first gybes
The gybe on a foil is more technical than on a twin-tip, because you have to manage the transition between flying and touching down, and back again. The method:
🔹 The foil gybe, step by step
1. Gradually reduce altitude by shifting your weight forward (the foil settles
back onto the water).
2. Carry out your gybe as you would on a twin-tip,
keeping the kite stable.
3. Once you've committed to the new direction,
accelerate progressively.
4. The foil takes off again on its own once
you're carrying enough speed.
Sessions 13+: pumping and long-distance flight
Pumping is the technique of generating lift through rhythmic body movements, even when the wind drops. It's the skill that separates intermediate foilers from accomplished ones. Pumping is learned gradually: start with light knee flexes and see how the foil responds.
Want to progress fast in kite foil? Book a dedicated course with a qualified instructor. Two to three days of coaching can accelerate your progress by several weeks of self-taught trial and error.
7. Safety specific to kite foil
Foiling introduces specific risks that every rider needs to know:
The foil is sharp
Carbon foil wings are extremely sharp. When you fall, never fall towards the foil. Always fall forwards, away from the foil, pushing the board out in front of you. Wear a helmet and an impact vest as standard during your early sessions.
Keeping your distance
A flying foil moves faster than a standard kitesurfer. Keep a minimum distance of 30 metres from any other water user (kitesurfers, swimmers, paddlers). In busy areas, slow down and stay low.
Self-rescue on a foil
If something goes wrong, self-rescue (getting yourself back to the beach unaided) is more complex with a foil, because the board is less buoyant and the foil creates drag in the water. Practise coming back to the beach in 'no foil' mode (foil in the water, board flat) before you venture far from shore.
Safety in kite foil isn't optional. See our full guide to kitesurfing safety and invest in a helmet and protective kit from your very first sessions.
8. Budget: what does a kite foil set-up cost?
Here's a realistic breakdown of what to expect for a kite foil beginner set-up:
🔹 Buying new
A complete foil (mast, fuselage, wings) sits at the premium end of the budget. A foil board is a mid-range purchase. A light-wind kite (around 9m², new) is also mid-range to premium. Add a bar and lines plus accessories (helmet, impact vest, foil leash) and a full new set-up realistically lands somewhere between mid-range and premium overall.
🔹 Buying secondhand
Secondhand is an excellent option for getting started without overspending. A used complete foil, a used foil board and a used kite together typically bring the whole set-up down to a budget-to-mid-range outlay, roughly half of buying new.
Well-regarded brands in foiling include Axis, Slingshot, F-One, Lift Foils, North and Jobe. For a beginner, a good-brand secondhand set-up is more than enough for your first 20–30 sessions.
9. Best conditions and where to fly a kite foil
Kite foil is best ridden in specific conditions that differ from classic kitesurfing:
The ideal conditions
- Flat water: lagoons, lakes, sheltered bays, flats. The foil hates chop and short, bumpy waves that disrupt take-off.
- Light to moderate wind: 8 to 18 knots. The foil comes into its own in conditions where a twin-tip struggles.
- Plenty of open space: the foil needs distance to build speed and take off. Avoid confined areas.
- Enough depth: the mast is typically 75–90cm long. You need at least 1.5m of water depth to avoid striking the bottom.
Good UK spots for kite foiling
Several UK locations offer the flat water and steady wind that kite foil thrives on:
- Hayling Island (Hampshire): a large area of sheltered water and a strong kite community make it one of the best places on the south coast to build foil hours.
- Portland Harbour (Dorset): a big, protected harbour with flat water and reliable wind, popular with foilers looking to avoid open-sea chop.
- West Wittering (West Sussex): flat water at low tide and plenty of room to spread out, ideal for early foil sessions.
- The Solent (Hampshire/Isle of Wight): sheltered stretches with consistent thermal and sea-breeze wind, a favourite for light-wind foiling.
To discover more locations, browse our guide to the best UK kitesurfing spots.
10. The future of kite foil: racing, freestyle and downwind
Kite foil is expanding fast and now covers several distinct disciplines:
Kite foil racing
Kite foil racing is the discipline's headline event. 'Foil race' competitions pit foilers against each other around regatta-style courses. Top speed in racing can reach 30–40 knots (35–46mph). The IKA Formula Kite world championship draws athletes from around the globe, and kite foil racing has also become an Olympic sport.
Kite foil freestyle
Freestyle foiling is the discipline's emerging edge. Riders throw jumps, rotations and grabs while airborne above the water. The tricks are spectacular because flying height allows airs of several metres. Brands including Slingshot and F-One now build gear specifically for freestyle foiling.
Downwind foil
Downwind foiling means riding ocean swells on a foil over distances of several kilometres. It's one of the most extraordinary experiences in the whole of watersports – combining the power of the kite with the lift of the foil to ride swell in a straight line for kilometre after kilometre. Spots such as Maui and Tarifa are world references for downwind foiling, and stretches of sheltered UK coastline are increasingly attracting foil downwinders too.
Kite foil is the fastest-progressing discipline in the whole of watersports. Whether your goal is light-wind cruising, racing or freestyle, it all starts with the same fundamentals – the right gear, patience and the right conditions. Ready to get started? Discover our kitesurfing courses guide for personalised coaching.
Just starting out in kitesurfing and foiling has caught your eye already? Begin with the basics in our guide to getting started in kitesurfing and explore the full world of kitesurfing on Matosurf.
❓ Frequently asked questions about kite foil for beginners
Is kite foil easy for a beginner?
Kite foil first requires you to be able to kitesurf independently. Once the basics are in place (water start, riding both ways, going upwind), the transition to foil usually takes 5 to 10 sessions. Foil is more accessible than it looks, because it flies in just 8 to 12 knots.
What front wing size should I choose to start kite foiling?
To begin, go for a front wing of 1,200 to 1,800cm². A large surface (1,500–1,800cm²) gives more lift and stability, which makes taking off and staying airborne easier.
What budget do I need to kit myself out for kite foil?
A complete secondhand or entry-level new set-up sits somewhere between mid-range and premium: the foil is usually the biggest single outlay, followed by the board and a dedicated light-wind kite. Buying secondhand is an excellent way to start without overspending.
Do I need to be a strong kitesurfer before trying foil?
Yes, foil is not a discipline for complete beginners. You need to have mastered the water start, riding in both directions, going upwind and handling gusts, all independently. Reckon on 15 to 30 kitesurfing sessions before moving on to foil.
What kite should I use for foiling?
Foil is ridden with smaller kites than classic twin-tip kitesurfing: 5 to 9m² depending on the wind. In light wind (8–12 knots), a 9–12m² kite with a good top-end range is ideal.