
Kitesurfing is one of the most accessible and exhilarating watersports there is. Contrary to what people imagine, you don't need to be an athlete to start out – the wind does the work. But technique, an understanding of the wind and, above all, safety are essential. From your first steps on the beach to your first independent sessions, this is how to build up without skipping the stages.
Step 1: Understanding the wind
Wind is the engine of kitesurfing. Get that wrong and nothing else works. Start with these fundamentals.
The wind window
The wind window is the dome-shaped area in which the kite can fly in the sky. It sits in front of you and spans 180°. The kite generates the most power when it is at the zenith (directly overhead) and the least when it is at the edge of the window (out to the side, at 90° to the wind).
The power zones
- The power zone: the centre of the wind window. This is where the kite is at its most powerful, and where you generate the pull to get moving.
- The edge of the window: the sides of the window. Here the kite has the least power. This is the rest-and-safety zone.
- The zenith: the kite is directly above you. Moderate power, a stable position.
🔹 Exercise: fly a trainer kite
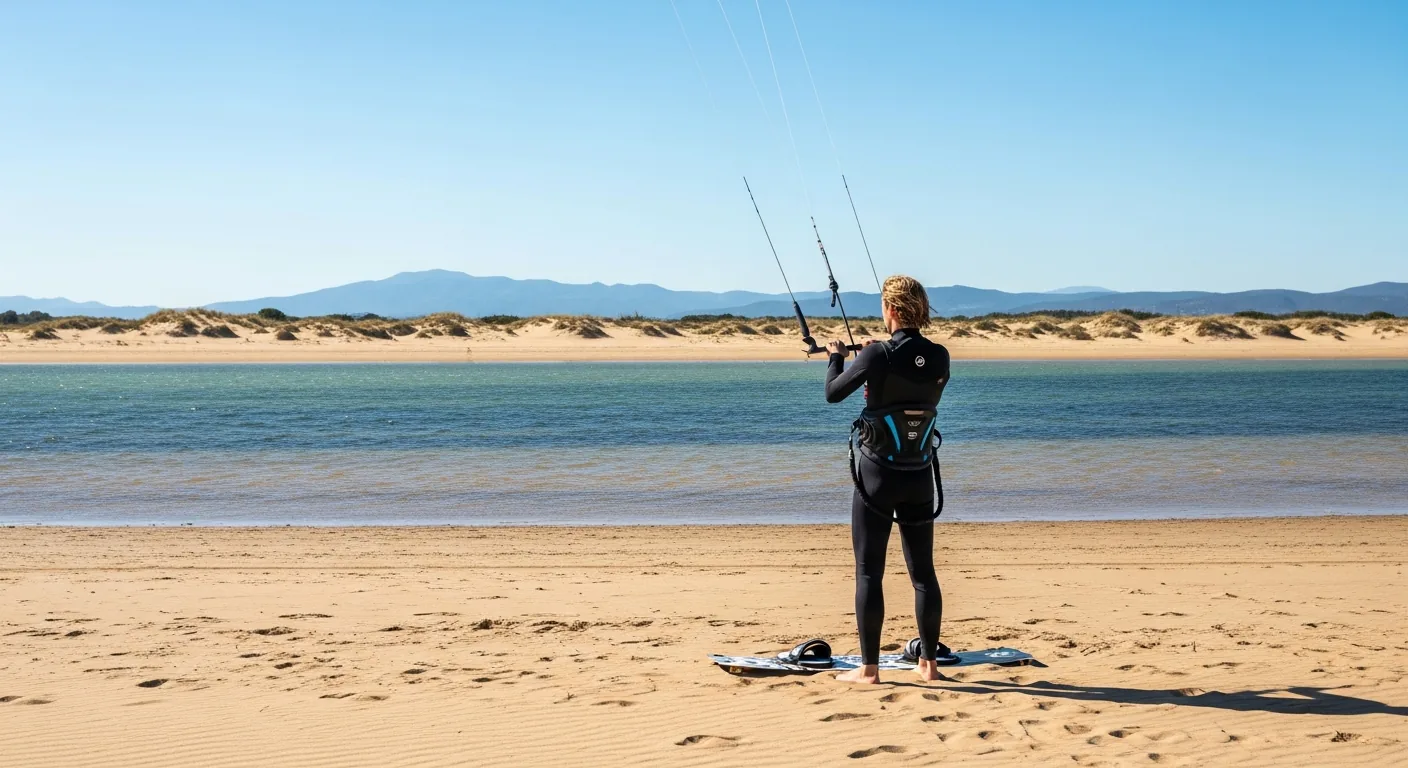
Before you get in the water, practise with a trainer kite of 2 to 3m² on the beach. Fly figures of eight in the sky to learn how the kite responds to your inputs. That drill builds the muscle memory you'll lean on with a full-size kite.
Offshore and onshore wind
In kitesurfing, an offshore wind (blowing from the land out to sea) is dangerous: it pushes you out to sea. You never kite in an offshore wind without a safety boat. An onshore wind (blowing from the sea onto the land) is ideal: it brings you back to the beach. A cross-shore wind (blowing parallel to the beach) is also acceptable. On a lifeguarded beach, watch for the orange windsock, which warns of an offshore wind.
Golden rule: never kitesurf in an offshore wind. If the wind is pushing you out to sea, you won't be able to get back. Always check the wind direction before you rig up. If in doubt, ask a local kitesurfer or the kite school.
Step 2: Your first kitesurf lessons with an instructor
Kitesurfing is a sport that you don't teach yourself. Your first sessions need a qualified instructor watching, for four reasons.
- Kitesurfing kit is technical and potentially dangerous if used badly
- The safety systems (quick release, chicken loop) must be mastered before any independent session
- An understanding of the wind, the tides and the currents comes from an instructor
- An instructor takes you to the right spot for the day's conditions
A typical beginner course
🔹 Session 1: Theory + flying on land (2 hrs)
Wind theory, the wind window, the safety systems. Flying a trainer kite on the beach. Learning to launch and land the kite.
🔹 Session 2: Body-drag (being pulled through the water without a board) (2 hrs)
In the water, you learn to let the kite pull you along in a body-drag (lying on your front, without a board). You learn to body-drag upwind: an essential skill for recovering your board after a fall.
🔹 Session 3: The water start (getting up on the board) (2 hrs)
The water start is the moment you go from lying in the water to standing on the board. It is the kitesurfing equivalent of the pop-up in surfing, but with the kite as the source of pull. You'll repeat it 20 to 30 times before it starts to feel natural.
🔹 Sessions 4–5: Your first independent sessions (2 hrs each)
You start to ride on your own, with the instructor watching and correcting you from a boat or the beach. Working on your line (direction), your transitions and staying upwind.
Step 3: The body-drag – the essential skill
The body-drag is being able to let the kite pull you through the water without a board, and it matters more to your safety than anything else you'll learn.
- Downwind body-drag: letting the kite pull you in the direction of the wind. Easy, with the kite at the edge of the window.
- Upwind body-drag: working back against the wind using the kite like a sail. An advanced technique, but essential for recovering your board.
- Emergency body-drag: if you release your kite, you can still be pulled along holding a single side of the bar.
Never neglect the body-drag. It is the skill that saves you if you lose your board or get carried out to sea. Practise until working back upwind feels natural.
Step 4: The water start – standing up on the board
The water start is the key moment: you go from lying in the water to standing on the board, pulled along by the kite. The sequence runs like this.
- Starting position: lying on your back in the water, board on your feet, kite at the zenith.
- Sheet in the kite: pull the bar towards you to bring the kite into the power zone (towards 10 or 2 o'clock in the wind window).
- Feel the pull: the kite pulls you forwards. The board starts to plane.
- Stand up: shift your weight onto your back foot, keep your knees bent, and look in the direction you want to go.
- Ride: once you're up, adjust the kite's position to hold the pull and your line.
Common water-start mistakes
- Over-sheeting: bringing the kite too low in the window = too much power = a crash. Build up gradually.
- Looking at the board: your gaze steers your body. Look where you want to go, not down at your feet.
- Weight too far forward: the nose digs in and you go over the front. Sit back a touch.
- Not enough bend: your knees should be bent to absorb the chop.
Step 5: Riding and progressing
Once you're water-starting regularly, these are the skills that move you on.
Your line (direction)
Learn to ride in both directions (left and right). Shifting your weight between your feet and the angle of the board set your direction. Your first attempts will be clumsy, and that's fine.
The transition (turning)
The transition is the kitesurfing turn. You shift your weight, change edge and swing the kite across to change direction. It's the first manoeuvre to learn after the water start.
Staying upwind
Being able to ride upwind (against the wind direction) is the skill that separates the beginner from the independent kitesurfer. Without it you drift steadily down the beach. Edge hard through your heels or toes, keep the kite low at the edge of the window, and hold your body in line with the pull of the kite.
Looking for somewhere to learn? Browse the best UK kite spots, then read up on the gear you need and our safety guide before your first session.
How long until you're independent?
Progress in kitesurfing is quick compared with surfing:
- 10–15 hours of lessons (5 to 8 sessions): regular water starts, first independent sessions
- 20–30 hours (10 to 15 sessions): riding upwind nailed, transitions mastered
- 50+ hours: first manoeuvres (jumps, transitions, riding switch)
Consistency beats intensity. Two sessions a week will take you further than one every fortnight, because kite-flying reflexes fade fast when they're left alone.
The best beginner spots in the UK
- Portland Harbour (Dorset): sheltered flat water and steady wind make this one of the best places in the UK to learn. A big kite and windsurf scene.
- Hayling Island (Hampshire): reliable sea breezes, lots of space and a strong kite community. Ideal for your first sessions.
- Camber Sands (East Sussex): a vast sandy beach with plenty of room to spread out at low tide. Popular with kite schools.
- Hunstanton (Norfolk): wide, shallow beaches and clean onshore winds off the Wash. Excellent for beginners.
- West Kirby (Wirral): the marine lake offers flat, shallow water with no waves or current – perfect for focusing on kite control.
See our guide to the best UK kite spots to find the right conditions for your level.
Ready to progress further? Once your waterstart is solid, check out our kitesurf technique guide: kite relaunch, riding upwind, transitions, toeside riding and your first jumps to take you from beginner to intermediate.
❓ Frequently asked questions about learning to kitesurf
How many kitesurf lessons does it take to learn?
Reckon on 10 to 15 hours of lessons (5 to 8 sessions) to become independent. The first sessions focus on flying the kite on the beach, then the body-drag and finally the water start.
Do you need to be able to swim to kitesurf?
Yes, you should be able to swim at least 200 metres. Kitesurfing takes place at sea and being a confident swimmer is essential for your safety.
What age can you start kitesurfing?
From around 12 to 14 with suitable supervision. There is no upper limit. Fitness and confident swimming are the only real requirements.