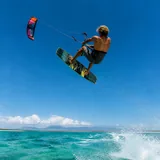
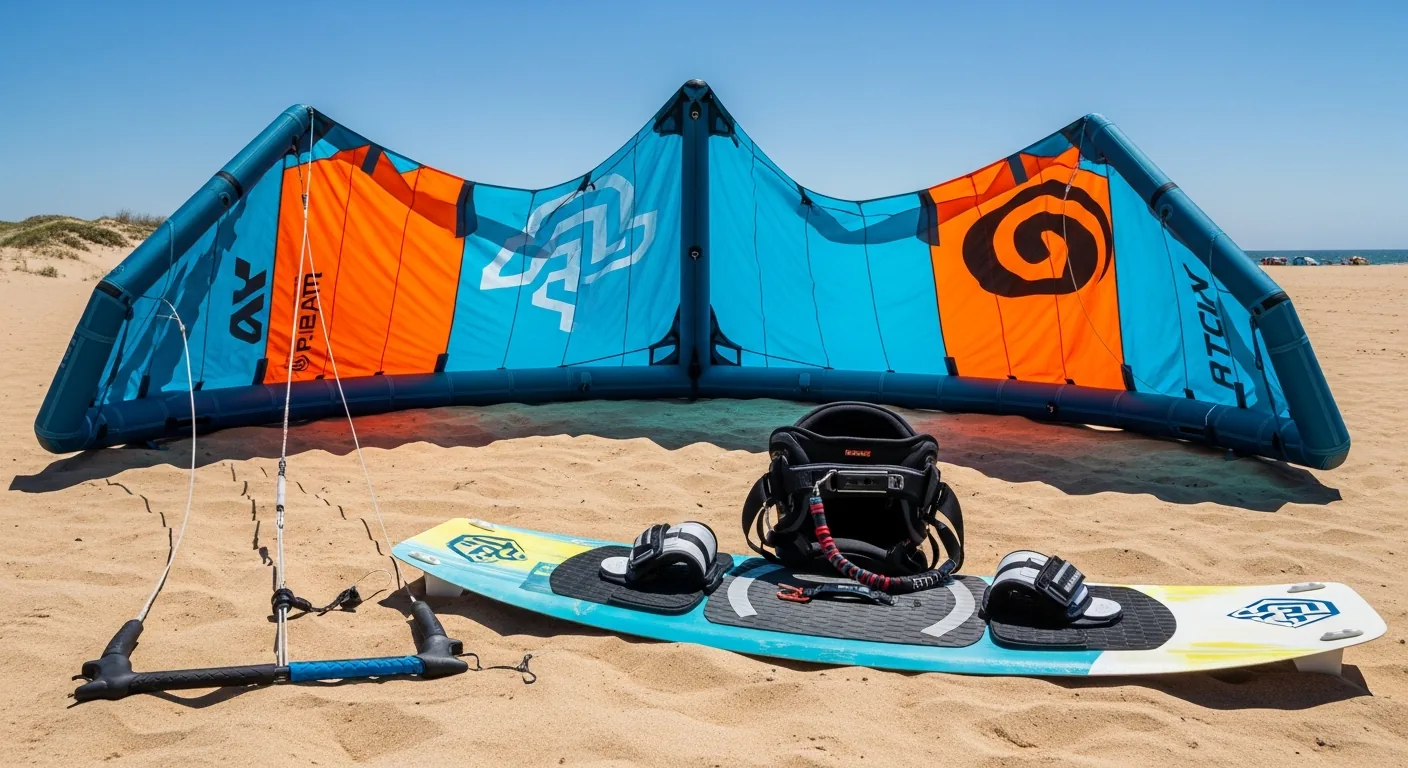
Most beginners who stall out on the water are fighting their kit rather than the wind: a kite that's too small for the day, a board that won't plane, a harness that rides up. Get the sizing right for your weight and your local conditions and the whole thing gets easier. This guide runs through the set-up piece by piece.
1. Kite types: delta, bow and hybrid
The kite is the heart of your kitesurfing set-up. It catches the power of the wind and pulls you across the water, and for a beginner the type matters enormously. Too technical and you'll struggle to control it; too old and it won't perform.
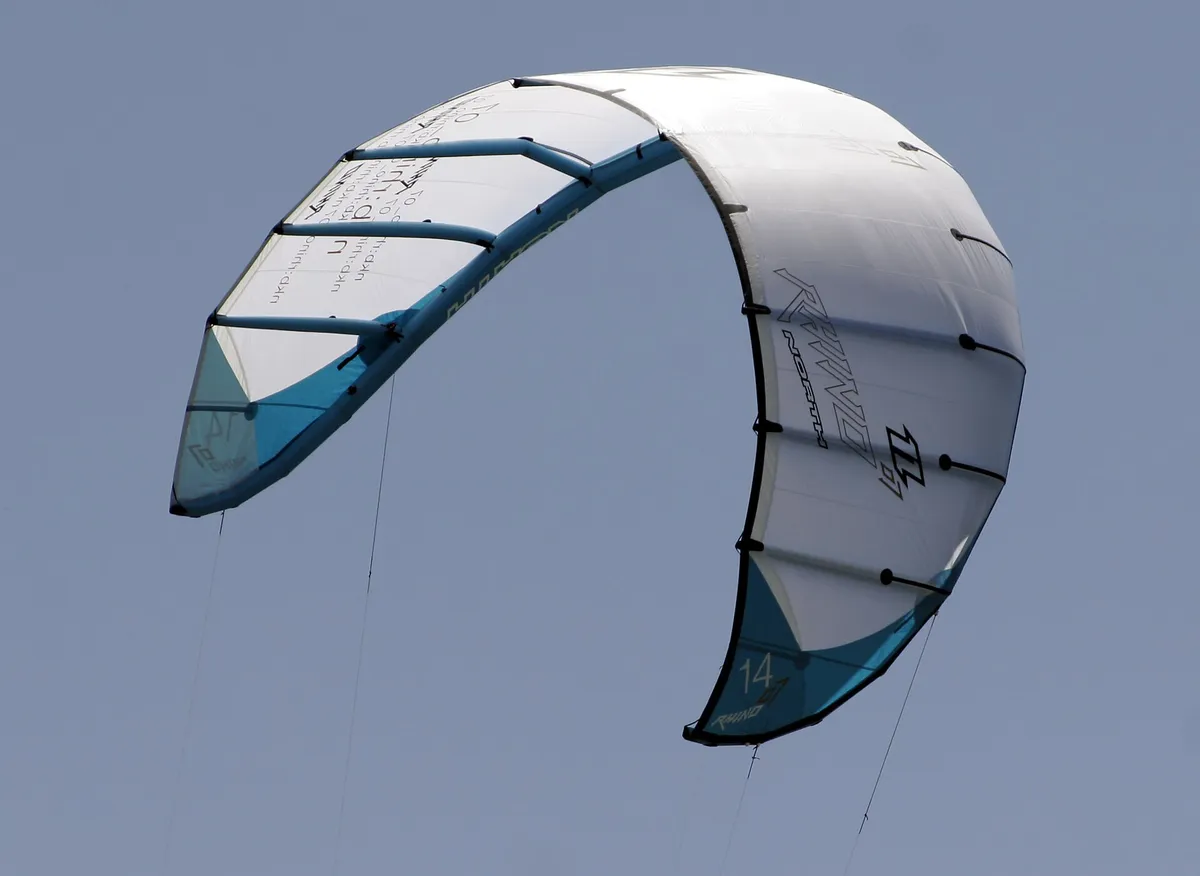
The delta kite: the ideal choice to start
The delta (or delta-hybrid) is the most recommended shape for beginners. Its triangular outline gives it several key advantages:
- Easy relaunch off the water: the delta settles at the edge of the window and relaunches naturally when the wind catches it again. That's the single most useful trait for a beginner, who will spend plenty of time dropping and relaunching the kite.
- Stability: the delta is naturally stable in its wind window. It pitches less than a C-kite, which makes learning more predictable.
- Wide wind range: a delta covers a good range of wind strengths, so you need fewer kites.
The bow kite: versatile and safe
The bow kite (an arced shape) was a revolution in kitesurfing. Its strengths for beginners:
- Plenty of depower: the bow kite can cut its power dramatically when you push the bar away, which reassures beginners.
- Flat and stable: its flat shape copes well with gusts.
- Versatile: it works well across a wide range of winds and conditions.
🔹 Our recommendation
For your first kite, go for a delta or delta-hybrid of 12 to 14m². That is the size that offers the best balance of lift and ease in the light-to-moderate winds (12–20 knots / 14–23 mph) typical of UK beaches. Kites worth a look: the Duotone Evo, the Core Nexus and the F-One Bandit.
The other types (to avoid as a beginner)
- C-kite: a C-shaped outline, very powerful and very technical. One for experienced riders, mainly for freestyle and wakestyle.
- Hybrid C: a halfway house between a C-kite and a bow, higher-performing but less forgiving. Worth considering after your first season.
- Foil kite: a ram-air kite for kite foiling. Excellent in very light wind, but it demands a specific technique.
Kite size is chosen to suit your weight and the wind range of your spot. A 75kg rider at a spot averaging 15 knots (17 mph) will want a 12m². A 90kg rider at the same spot will prefer a 14m². See our guide to getting started in kitesurfing to understand the wind.
2. The board: directional vs twin-tip
The board is the second most important part of your set-up, and beginners choose between two broad categories.
The twin-tip: the all-rounder
The twin-tip is the most common board in kitesurfing. Symmetrical (you ride it in both directions), it looks like a wakeboard, and it's the default choice to start with.
- Ease: the symmetry means you don't have to worry about your stance (front/back foot) when you change direction.
- Versatility: it works in all conditions, from flat water to chop.
- Recommended size: to start, choose a twin-tip of 135 × 41cm to 145 × 43cm for an adult. The bigger the board, the more stable it is and the easier it is to get planing.
The directional: the surf-style board
The directional looks like a surfboard, with a defined nose and tail. You ride it in one direction (hence the name) and need a transition to change course.
- A surfing feel: the directional turns and carves on a wave much as a surfboard does.
- More technical: the transition and the change of stance take more experience.
- Not recommended to start: unless your goal is purely wave riding.
🔹 Our recommendation
Start with a twin-tip of 136 × 41cm (for a rider of 70–80kg). That's the do-it-all size that gets you planing easily, even in chop. Once you're comfortable, you can invest in a directional for wave riding.
3. The bar and the lines
The control bar and the line system are your direct interface with the kite, and everything passes through them: power, steering and safety. A good set-up is essential for safety and for enjoyment.
The control bar
Modern bars are fairly standardised, but a few points are worth attention:
- Bar length: a shorter bar (45–48cm) gives more precise, lower-effort steering. A longer bar (50–55cm) gives more leverage and feedback. To start, a 48cm bar is a good compromise.
- Safety system: check the bar has a working quick release. It is your number-one piece of safety in kitesurfing.
- Chicken loop: the attachment to the harness should be smooth and easy to open and close, even with wet or gloved hands.
The lines
The lines connect the bar to the kite. Their length and condition directly affect how it flies:
- Standard length: 22 to 25 metres. Shorter lines (20m) give more direct steering. Longer lines (27m) widen the kite's wind range.
- Regular checks: inspect the lines before every session. A frayed or twisted line can snap mid-session – a serious hazard.
- Even lengths: all four lines must be exactly the same length. Any imbalance makes the kite pull to one side. Check regularly and adjust if needed.
Safety first. Your bar must always have a working quick release, and you test it before every session. If the quick release is jammed or damaged, don't put your kit in the water. See our full guide to kitesurfing safety.
4. The harness: seat or waist
The harness is what links your body to the kite via the chicken loop. It spreads the pull of the kite across your body. A good harness is crucial for comfort and stamina on the water.
The seat harness
The seat harness has straps that pass around the thighs. It can't ride up your torso, which makes it very comfortable:
- Pros: doesn't ride up, spreads the pull well, ideal for long sessions.
- Cons: can limit your movement, less suited to freestyle and jumping.
- Best for: beginners, freeride and distance kitesurfing.
The waist harness
The waist harness is worn around the waist, without leg straps. It is the most popular choice among intermediate and experienced riders:
- Pros: total freedom of movement, lets you switch stance easily, ideal for freestyle.
- Cons: can ride up if badly fitted or if the pull is too strong. Needs a good fit.
- Best for: riders looking to move into freestyle, wakestyle and jumping.
🔹 Our recommendation
To start kitesurfing, the seat harness is the most comfortable and safest choice. It stays put and lets you concentrate on flying the kite. Once you have the basics and want to move into freestyle, switch to a waist harness. Brands worth knowing: Dakine, Mystic, Ion and NeilPryde.
5. Safety kit
Kitesurfing calls for a minimum of safety kit. Three items count.
The helmet
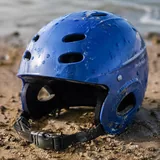
A kitesurfing helmet protects your head in a fall, a clash with the board or an impact with a floating object. Strongly recommended at any level, and non-negotiable for beginners.
- Choose a helmet certified for watersports (CE-marked)
- Look for a model with ear protection and ventilation
- A snug but comfortable fit, so the helmet doesn't shift around in the waves
The impact vest
The impact vest is a padded vest that protects the chest and ribs. It also adds a bit of buoyancy:
- Protection: absorbs the knocks of falls and hard landings on the water
- Buoyancy: helps you float during a long session with no wind
- Warmth: an extra layer against the cold, handy in the shoulder seasons
The board leash
A leash links your ankle or harness to the board. On a twin-tip it's best avoided, especially while you're learning:
- Recoil risk: in a fall the kite keeps pulling you while the board stays caught in the water; the leash stretches and can catapult the board, fins and all, back at you. The IKO advises against board leashes for this reason.
- Learn the body drag: instead of a leash, you learn to recover your board with an upwind body drag.
- Required at your spot? If a spot or school insists on one, wear a helmet and use a coiled leash.
- Not a safety device: a board leash never replaces the bar's quick release.
Never cut corners on safety. The combination of helmet + impact vest + a working quick release is the bare minimum. To learn more, see our page on kitesurfing safety.
6. New vs secondhand: which to choose?
The new-versus-secondhand question is a big one when you're starting out, and the answer differs piece by piece.
Fine to buy secondhand
- The twin-tip board: a kite board is a robust thing. Check for cracks, delamination and the state of the inserts. Slight yellowing of the foam is normal.
- The kite (1–2 years old, max): a recent kite can be bought used. Check the canopy (no holes, no delamination), the seams, the battens and the connectors. Test-inflate it before buying.
- The harness: if it's in good condition (no tears, working buckles), secondhand is perfectly viable.
Better bought new
- The lines and the bar: line wear isn't always visible, and a weakened line can snap mid-session. For safety, buy new.
- The helmet: a used helmet may have taken invisible impacts. Go for new for the best protection.
- The impact vest: the impact foam loses its effectiveness over time and with compression. New recommended.
Checks for buying used: inflate the kite and make sure it holds pressure for at least 30 minutes. Inspect the canopy seams. Pull on each line to check for fraying. If the seller won't allow these checks, walk away.
7. The brands worth knowing
The kitesurfing market is led by a handful of major brands that have proven themselves on quality, reliability and after-sales support. These are the names worth knowing.
Duotone
A global benchmark with a full range. The Evo is a beginner best-seller.
Core
German quality. The Nexus is rated for its stability.
Cabrinha
Constant innovation. The Switchblade is a versatile classic.
North
A legendary heritage. The Carve is ideal for freeride.
F-One
The Bandit has been a benchmark for years.
Ozone
Excels at foil kites and ram-air kites; the Reo for waves.
Slingshot
Great value. The Rally is a solid choice to start on.
Dakine / Mystic
Leaders in harnesses and accessories – comfort and durability.
🔹 Our top three to start on
1. Duotone Evo: delta-hybrid, easy relaunch, stable, wide wind range.
2. Core Nexus: delta, light, stable, excellent depower.
3. Slingshot Rally: bow-hybrid, very stable, a great first kite.
The beginner's checklist
Run through this before you part with any money.
- Kite: delta or delta-hybrid, 12–14m², suited to your local wind range
- Bar: working quick release, 48cm length, lines of 22–25m in good condition
- Board: twin-tip 135–145cm, in good nick (no cracks, inserts sound)
- Harness: seat harness to start, well fitted, working buckles
- Wetsuit: 3/2mm in summer, 4/3mm in the shoulder seasons, 5/4mm in winter (UK water is cold most of the year)
- Helmet: CE-marked, ear protection, a snug fit
- Impact vest: right size, foam in good condition
- Board leash: best avoided on a twin-tip; learn the body drag
Want to structure your learning? See our guide to getting started in kitesurfing and our safety advice, or browse the best UK kite spots.
❓ Frequently asked questions about beginner kitesurfing gear
What size kite should you start kitesurfing with?
To start kitesurfing, a kite of 12 to 14m² is recommended. This size gives good lift in light to moderate winds (12–20 knots / 14–23 mph), which makes learning easier. Match the size to your weight: the heavier you are, the bigger the kite.
What type of kite should you choose to begin with?
A delta or hybrid kite is ideal for beginners. These shapes offer a good balance of power, stability and the ability to relaunch off the water. Avoid C-kites, which are too technical for a first purchase.
Should you buy new or secondhand kitesurfing gear?
Secondhand is a good option to start with, especially for the kite and board. Check the canopy, the lines and the bar. A harness is fine secondhand if it's in good condition (straps, buckles, hook bar); for the helmet and impact vest, go for new.
What are the best kitesurfing brands?
Well-regarded kitesurfing brands include Duotone (Evo), Core (Nexus), Cabrinha (Switchblade), North, F-One (Bandit), Ozone and Slingshot (Rally). Each has ranges suited to beginners with excellent performance.