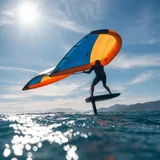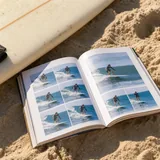

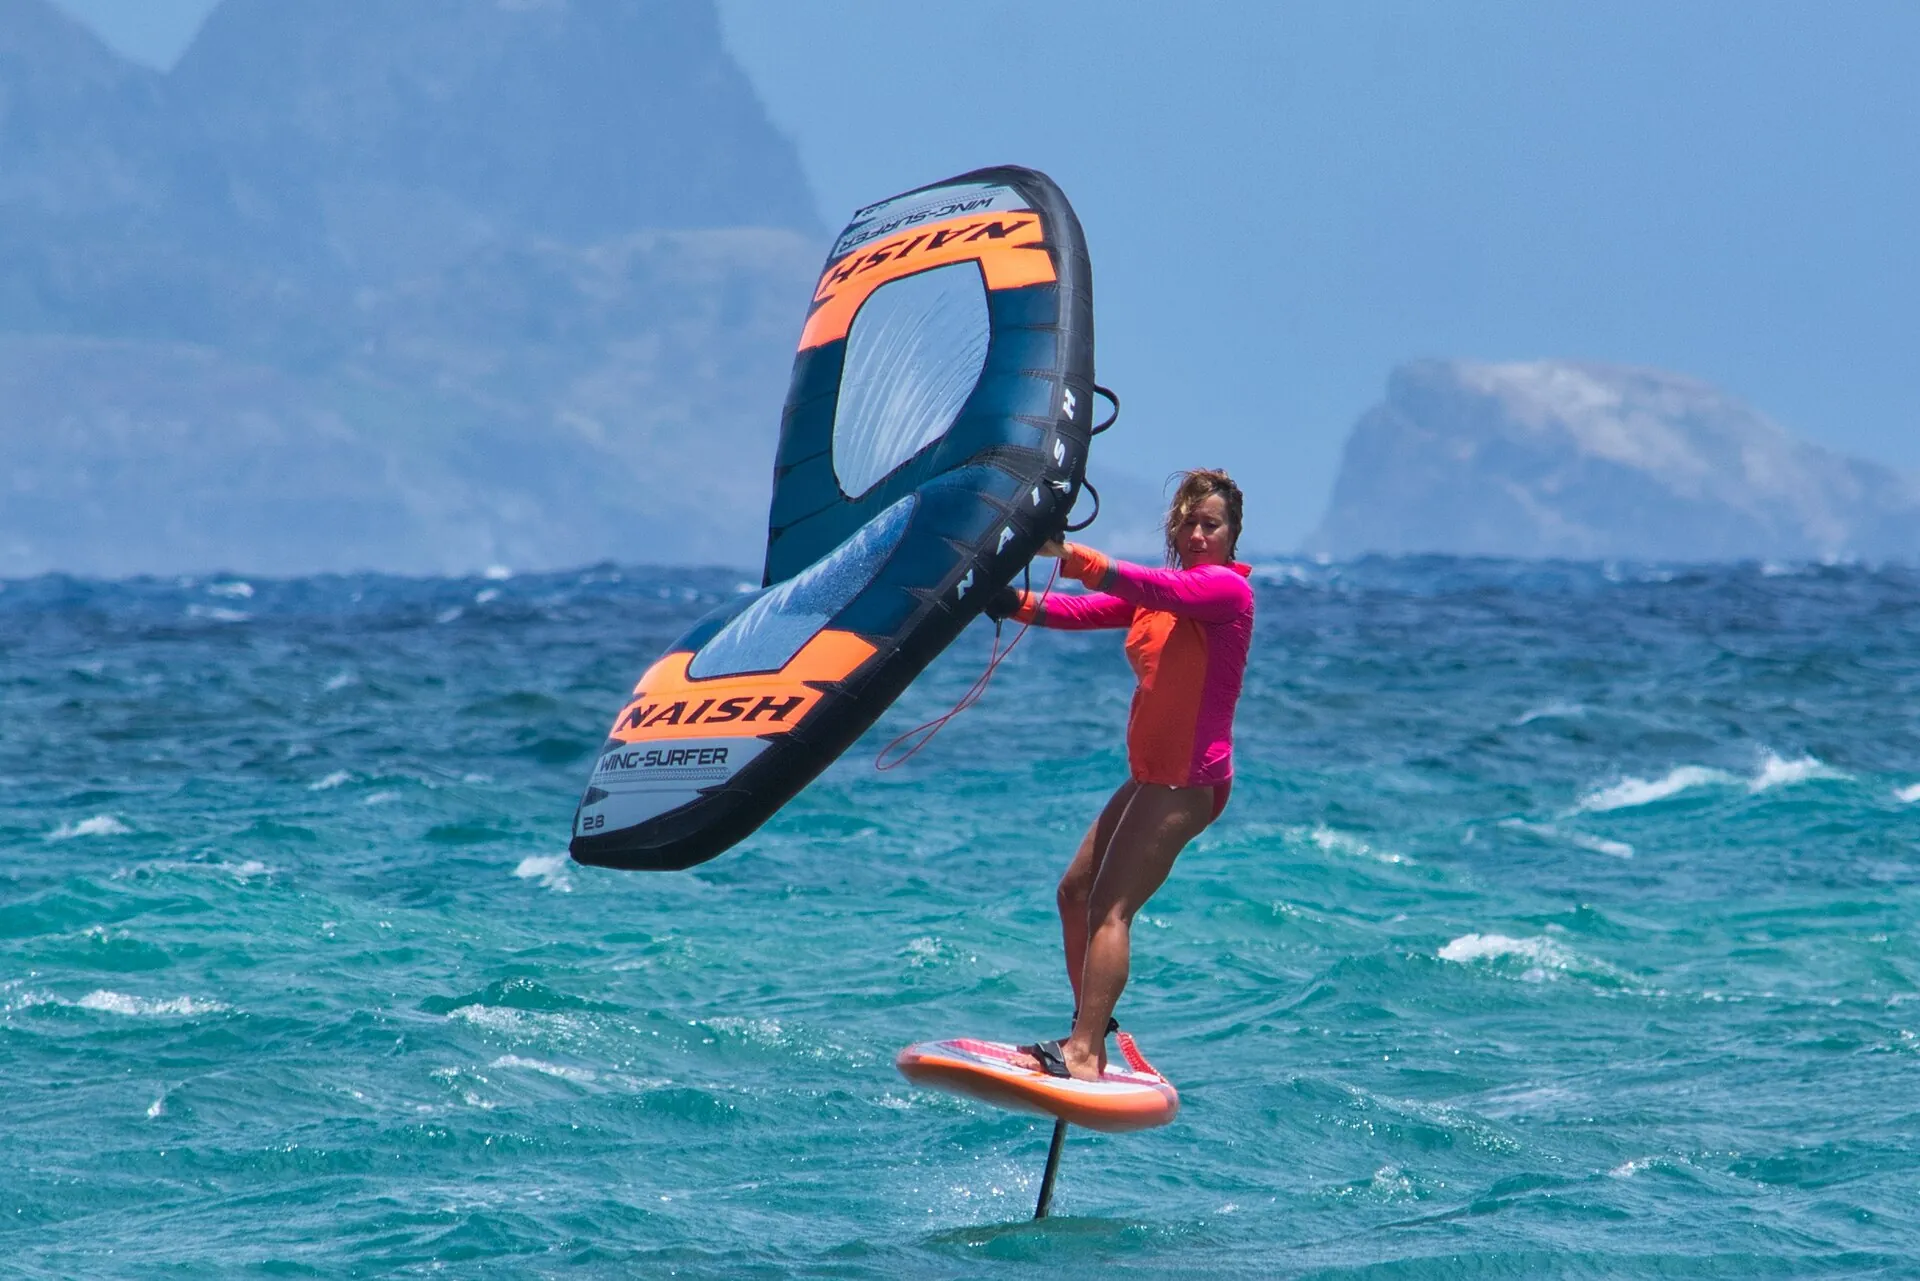
Wing foiling has been the fastest-growing watersport since 2022, and the appeal is obvious. It's rideable from just 12–15 knots (14–17 mph), there's no harness and there are no fiddly lines, and the flying sensation is like nothing else on the water. Between those first tumble-heavy sessions and the moment you fly in silence, though, lies a well-trodden path. We take it one stage at a time.
What is wing foiling?
Wing foiling brings together two pieces of kit:
- An inflatable wing held in your hands by rigid handles. It catches the wind and drives you along without being attached to you. Let go and the wing drops rather than dragging you with it, which is what makes the sport so forgiving.
- A hydrofoil mounted under the board, made up of a vertical mast with a front wing and a rear wing. Once you reach around 6–7 mph (10–12 km/h), the lift raises the board clear of the water. You fly, with no noise and next to no drag.
The result is a hybrid gliding sport you can do on the sea, a lake or a sheltered harbour in a moderate wind, with kit that packs into a rucksack. For the bigger picture, see our complete guide to wing foiling.
Why wing foiling is beginner-friendly
Compared with kitesurfing or windsurfing, wing foiling has some decisive advantages for beginners:
A moderate wind is enough
From 12 to 15 knots (14 to 17 mph, Force 3 to 4), ideal 12 to 20 knots (14 to 23 mph), never more than 20 knots at first: that is the wind range for learning to wing foil. That's enough for the wing to pull without the kit becoming a handful. By comparison, kitesurfing often wants 15-plus knots and windsurfing 18-plus knots to feel comfortable.
No complicated rigging
No lines to lay out as with a kite, no heavy rig as with a windsurfer. You pump up the wing (a couple of minutes with a hand pump), fit the board and go. The full set-up takes 10 to 15 minutes, a third of what a kite needs.
Safety built in
The wing is not attached to the rider. If you fall or lose control, you let go and it drops to the water without towing you along – a real advantage over kitesurfing, where lines under tension can turn a mistake into an incident.
Come from SUP, kite or windsurfing? Your progress will be 30 to 50 per cent quicker. It borrows balance from SUP, wind-reading from kiting and the riding stance from windsurfing.
Prerequisites: what do you need before you start?
Wing foiling asks for no prior technical skills, but a few basics speed up your progress considerably:
- Being able to swim, without question. Falls are frequent while you learn, and you need to be comfortable in deep water.
- Water-safety knowledge: understanding tides, currents and where you are allowed to ride is vital for staying safe.
- Experience on a board: if you can paddle a SUP or stand on a surfboard, your balance is already part-way there.
- Kite or windsurf experience: reading the wind, understanding the wind window and managing power all transfer directly.
Starting from scratch? Wing foiling is still the most accessible foiling discipline for a complete newcomer – just budget a few extra sessions.
Step 1: Handling the wing on land
Before you get your feet wet, spend an hour or two on the beach handling the wing. This is the most underrated stage, and the most important one for avoiding bad habits.
🔹 Understanding the wind window
Like a kite, the wing works within a 'wind window': an arc of roughly 180° facing the wind. With the wing overhead (the zenith), power is at its lowest. Down at around 45° (the power zone), the pull is at its strongest. Learn to move the wing through this window to control the power.
🔹 The neutral position
With the wing held overhead at the zenith, the power is neutral: it pulls you neither forwards nor sideways. This is your resting position, so master it first. You'll use it constantly to catch your breath or adjust your line.
🔹 Switching hands
To turn, you swap the wing from one hand to the other. On land, practise this 10 to 15 times: the front hand releases, the back hand becomes the front hand and the wing passes in front of you. How smoothly you do this decides how good your turns are on the water.
🔹 Walking with the wing in shallow water
Once you're comfortable on the sand, wade in to knee depth and walk along with the wing in the sailing position. Learn how the pull builds, how the wing's angle dials it up and down, and how to drop back to neutral when it gets away from you.
Step 2: Getting going on the water (no foil)
Most beginners start on a big board with no foil, either an inflatable SUP or a very high-volume wing board (150 litres and up). The aim is to learn to get to your feet, manage the wing and pick up speed without the complication of the foil.
Getting to your feet on the board
Point the board across the wind with the wing neutral above you. Kneel in the middle of the board, then rise steadily as you bring the wing down into the power zone. Feet shoulder-width apart, knees bent, eyes on the horizon.
Building speed and turning
Once up, sheet the wing down into the power zone to move off. To turn, shift your weight onto your back foot, pivot the board and switch the wing across. These early stages take one to three sessions, and rushing them costs you later.
Starting out and unsure what to buy? Our wing foiling gear guide runs through the boards, wings and foils recommended for every level.
Step 3: Your first take-offs on the foil
Once you can get up, turn and control the wing without a foil, it's time to fit one. Start with a large front wing (1,500–2,000cm²) and a short mast (65–75cm), which is far more forgiving for beginners.
The 'taxiing' phase
Your first foil sessions feel like taxiing. You move along, the board accelerates, the foil starts to lift and then drops back. What you're learning is the exact moment the foil takes off – that sudden lightness as the board leaves the water. This phase takes three to five sessions.
Your first controlled flight
You take off, fly for three to five seconds, then settle back down. It's the most exciting moment of the whole learning curve, and the trap is overreacting. As the foil rises, stay calm, knees bent, and let the lift do the work. Tiny weight shifts (fore and aft) control the ride height.
🔹 Tip for your first flight
In shallow water (waist to chest depth), with steady wind from 12–15 knots (14–17 mph), never more than 20 knots at first. A 4 to 6m² wing depending on your weight (5m² for 70–80kg), a board of your weight plus 40 to 60 litres and a large front-wing foil. Set off across the wind, bring the wing into the power zone and feel the foil lift. Keep your knees bent and your eyes on the horizon, not on the board.
The stages of progression in wing foiling
Progress follows a structured path, and each stage you nail opens up the next.
1. Wing control (sessions 1–3)
Master the wind window, the neutral position and switching hands. Be able to move along and turn on a big board with no foil.
2. Getting a feel for the board (sessions 3–5)
Stand comfortably, handle changes in the wind, fall off and get back on quickly. Start introducing the foil.
3. First take-offs (sessions 5–8)
Feel the foil lift, fly for a few seconds and settle back down under control. Start stretching out the flight time.
4. Stable flight (sessions 8–12)
Fly for 10 to 30 seconds while controlling the ride height. Start steering and carving. The foil no longer drops with every gust.
5. Transitions: tacks and gybes (sessions 12–20)
Carry the foil through the turn without dropping back down. The tack (turning through the wind) and the gybe (turning downwind) are the key moves. This is the stage that turns a beginner into an independent wing foiler.
Want to dig into the technical moves? See our wing foiling techniques page for the detail on the tack, the gybe and pumping.
How many sessions until you're independent?
Here are the rough numbers for a reasonably fit adult riding two or three times a week:
- 5–10 sessions: first stable flights of 10–20 seconds, managing the ride height
- 10–15 sessions: continuous flight of 30-plus seconds, first turns, getting back to the start
- 15–25 sessions: independent (complete beginner), smooth transitions, riding in a variable wind, first attempts at wing foiling in waves
- 25–40 sessions: a rider comfortable in all conditions (12–25 knots / 14–29 mph), plus basic tricks
A SUP background cuts this by around 30 per cent (balance already sorted). A kitesurfing background cuts it by 40 per cent (reading the wind sorted). A windsurfing background cuts it by 50 per cent (riding stance and wind both sorted). With one of these backgrounds, budget for 8 to 15 sessions to be independent. A complete newcomer to watersports, meanwhile, should budget for 15 to 25 sessions.
The best beginner spots in the UK
Wing foiling works on any windy patch of water, but a handful of British venues are near-ideal for a first season.
- West Wittering (West Sussex): the shallow, flat water around the harbour mouth, a sandy bottom and steady sea breezes make this one of the best places in the country to learn. You can stand up almost anywhere at low water, which takes the sting out of the falls.
- Hayling Island (Hampshire): reliable south-westerlies and a mix of flat harbour water and open sea, plus a strong local scene and centres on hand. A go-to for south-coast wingers.
- Portland Harbour (Dorset): one of the most sheltered stretches of flat water in the UK and a national watersports venue. Protected, forgiving and superb for building flight time.
- Rutland Water and inland reservoirs: flat, current-free and tide-free, so you can focus on pure technique. Check each venue's rules on wind sports and permits first.
- Poole Harbour (Dorset): large areas of shallow, sheltered water and a gentle sea breeze make it another southern favourite for early sessions.
Explore our full run-down of UK watersports destinations, with the conditions, the recommended level and what to expect at each spot. For a ranking by region and level, see the best wing foil spots in the UK.
Common beginner mistakes in wing foiling
- Starting with too small a foil: an 800cm² front wing might look big enough, but it needs high speed to fly and forgives little. Go for 1,500cm² as a minimum.
- Trying to fly too soon: skipping the 'no foil' stage is mistake number one. If you can't control the wing standing on a board without a foil, the foil will amplify every error.
- Looking at your feet: as in surfing, you go where you look. Fix your eyes on the horizon and the board sorts itself out.
- Waving your arms about: wing control comes from subtle movements of the torso and hips, not the arms. Arms relaxed and core engaged means better control and less fatigue.
- Riding in an offshore wind: if the wind blows from the land out to sea, it carries you away from the shore. A wing can't work back upwind as efficiently as a kite. Never ride in an offshore wind.
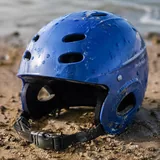
- Neglecting safety: the foil is sharp. Always wear a helmet, an impact vest and boots while you learn, and keep swimmers well clear of your riding area (at least 20 metres).
- Changing kit too soon: stick with your beginner set-up for the first 15 sessions or so. Sizing down the foil or board before you're stable only slows you down.
Two or three hours with a British Kitesports-recognised instructor is the cheapest time you'll ever buy in this sport. A coach catches your mistakes on day one, before they set as habits. Most kite and windsurf centres now offer wing foiling. Read our wing foiling safety guide before your first session.
Frequently asked questions about learning to wing foil
How many sessions does it take to be independent at wing foiling?
Reckon on 15 to 25 sessions to become independent from scratch, or 8 to 15 with a background in SUP, kitesurfing or windsurfing (a cut of 30 to 50 per cent): taking off, stable flight, turning and getting back to your starting point. The first stable flight comes after 5 to 10 sessions.
Do you need to be able to swim to wing foil?
Yes, being able to swim confidently is essential. Wing foiling takes place in open water and falls are frequent while you learn. A board leash and an impact vest are strongly recommended.
What wind do you need to learn wing foiling?
You can start from a steady 12 to 15 knots (14 to 17 mph, Force 3 to 4); 12 to 20 knots (14 to 23 mph) is ideal, and never more than 20 knots at first. It is enough for the wing to generate power, but not so much that you lose control. The wind should be onshore or side-shore, never offshore.
What kit do you need to start wing foiling?
A big board (your weight plus 40 to 60 litres), a wing of 4 to 6m² depending on your weight (5m² for 70–80kg) and a foil with a large front wing (1,500 to 2,000cm²). Buying a beginner set-up secondhand is a great way to keep the cost down while you learn.