
Wing foiling technique is the art of blending three things – the wing, the foil and the board – into one smooth, controlled movement. Between the first session, where you spend more time in the water than on the board, and the moment you fly in silence above the surface, lies a sequence of moves to master. This guide covers each stage, from handling the wing on land through to the advanced gybe, with the common mistakes and how to fix them.
1. Handling the wing on land
It all starts on the beach. Before you get your feet wet, spend an hour or two handling the wing on the sand. Beginners underrate this stage more than any other, and it shapes everything that follows. A well-handled wing is 50 per cent of the job done.
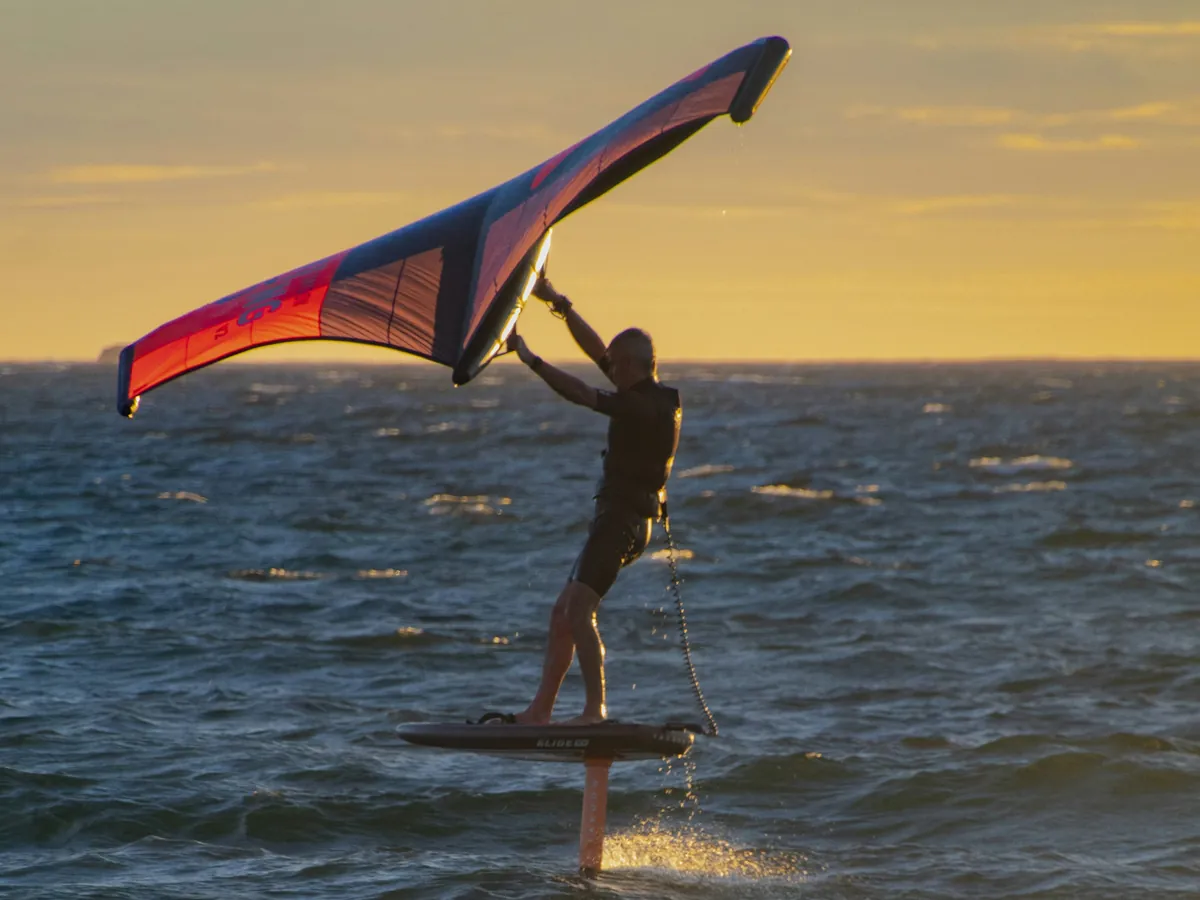
The neutral position (wing at the zenith)
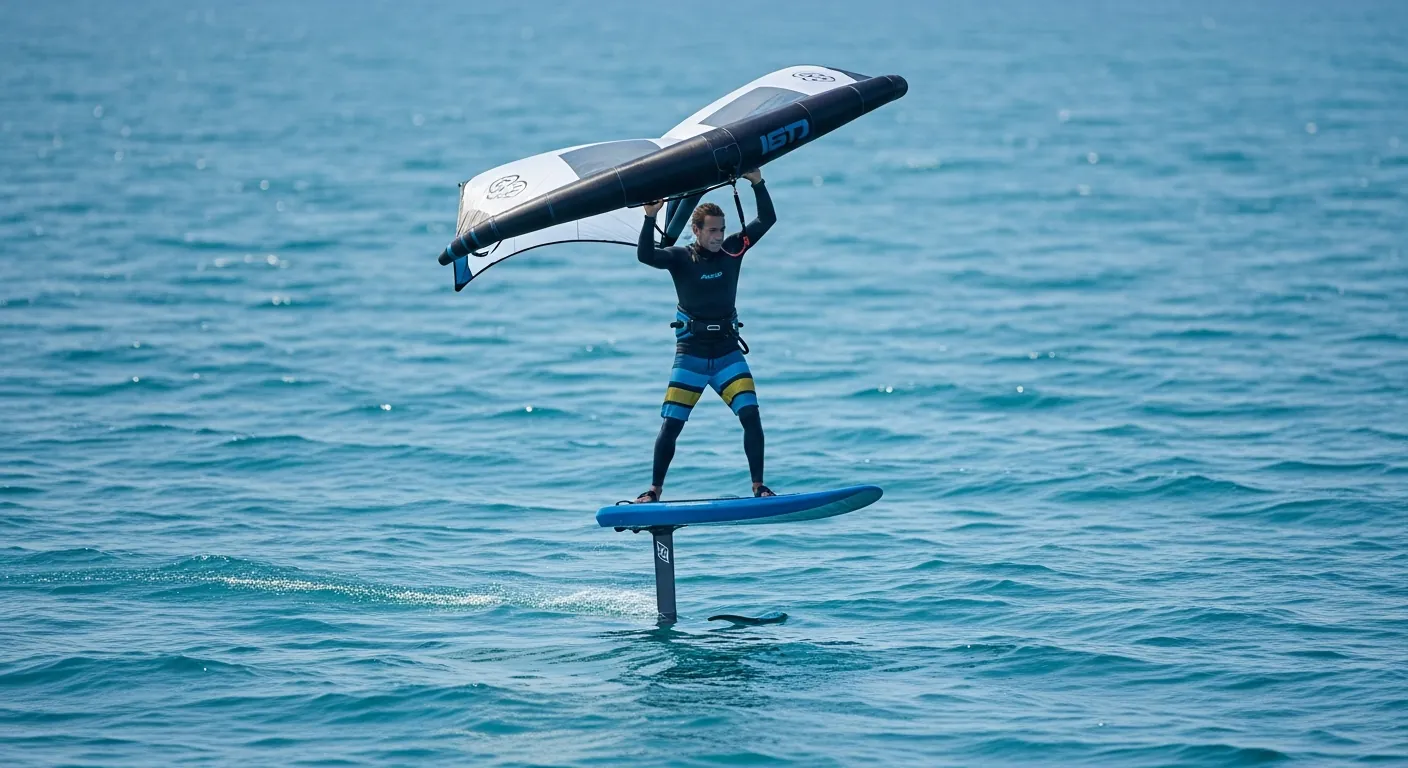
The neutral position is your comfort zone – wing held overhead, facing the wind, arms slightly bent. Here the power is at its lowest – the wing pulls you neither forwards nor sideways. This is your resting position. You'll use it to catch your breath, adjust your line or wait for a gust.
🔹 How to find the neutral position
With your back to the wind, raise the wing overhead with both hands on the handles. Let the wing settle naturally into the wind. Adjust the angle until the pull almost disappears. Your arms should be relaxed, not straining. If the wing pulls you forwards it's too low; if it falls behind you it's too high.
The power position (wing at 45°)
To move off, bring the wing down into the power zone, an arc of around 45° facing the wind. This is where the wing generates the most drive. The lower you take it, the more the power builds. Bring it down smoothly rather than sharply: a gentle movement gives you controlled acceleration, a sharp one gives you a catapult start.
🔹 Drill: powering up and down
On the beach, facing the wind, alternate between the neutral position (wing high) and the power position (wing at 45°) for five minutes. Do it 10 to 15 times. Your body needs to memorise the feel of the pull and learn to dial it up and down. Nothing in wing foiling matters more.
Switching hands
The hand switch is the move that lets you turn. The back hand becomes the front hand and the wing passes in front of you. On land, practise it 15 to 20 times until it runs smoothly.
🔹 The hand-switch sequence
1. The front hand releases the front handle and moves behind your back.
2. The back hand slides to the front handle and grips it.
3. The old front hand (now behind) grips the back handle.
4. The wing has swung a half-turn in front of you and you're ready for the new
tack.
How smoothly you switch hands decides how good your turns are on the water. If the move is hesitant, you lose speed and the foil drops back down. Practise it with your eyes shut on the beach, until your hands know the movement without you thinking about it.
Walking with the wing in shallow water
Once the sand work feels easy, wade in to knee depth and walk along with the wing in the sailing position. Knee-deep water adds resistance and takes away the certainty of solid ground, which is what builds your feel for the wind before a board is involved.
For all the fundamentals of the discipline, see our complete guide to wing foiling.
2. The water start without a foil
Before you add the complexity of the foil, learn to get up and move along on a big board with no foil, either an inflatable SUP or a very high-volume wing board (150 litres and up). This stage lets you build balance and wing control without the stress of the foil lifting and dropping.
Getting to your feet on the board
Point the board across the wind, wing neutral above you. Kneel in the middle of the board, holding the wing firmly. Then bring the wing into the power zone to create drive and rise steadily, taking the weight through your legs.
Body position on the board
- Feet: shoulder-width apart, across the line of the board
- Knees: bent at all times, like a skiing stance
- Gaze: on the horizon, never on the board
- Torso: leaning slightly forward, back straight
- Arms: bent, the wing controlled at chest height or above
Building speed and turning
Once up, bring the wing down into the power zone to move off. To turn, shift your weight onto the back foot, pivot the board and switch the wing across. Give one to three sessions to this drill, and don't rush it.
Riding hire kit and wondering what to buy? Our wing foiling gear guide sets out what board volume, wing size and foil to look for at each stage.
3. Your first take-off on the foil
This is the moment everyone waits for, when the foil lifts the board clear of the water and you fly. The urge to get airborne quickly has to be balanced against doing it under control.
Finding the sweet spot
The sweet spot is the balance point where your body weight makes the foil lift without rearing up or nose-diving. It usually sits in the middle of the board, sometimes slightly forward. Too far back and the foil won't lift. Too far forward and it noses in and drops you sharply.
🔹 How to find your sweet spot
In shallow water (waist to chest depth), with 12–15 knots (14–17 mph) of steady wind. Set off across the wind, bring the wing into the power zone and move along. Shift your weight gradually fore and aft until you feel the foil start to lift. When the board goes light, that's your sweet spot. Memorise the foot position.
Body position at take-off
As you lift off, your position should be:
- Knees bent: absorb the lift, don't tense up
- Eyes on the horizon: don't look at the board, look where you are going
- Wing steady at 45°: don't raise or drop the wing sharply
- Weight centred: shared evenly between both feet
The wing's angle at take-off
The wing's angle sets the power available. At take-off, aim for an angle of 30 to 45° to the wind. No higher (not enough power), no lower (too much pull, loss of control). Keep the wing steady and work in micro-adjustments rather than big movements.
Your first flights last two to five seconds, which is exactly as it should be. Don't chase duration straight away – chase a clean take-off, stable flight and a controlled landing. The duration comes with repetition.
Starting from scratch? Our getting started with wing foiling guide sets out the full programme from session one to independence.
4. Stable flight: managing height, edge and weight
Once you take off regularly, the goal shifts from 'getting up' to 'staying up'. Stable flight rests on three pillars: managing the ride height, controlling the edge and distributing your weight.
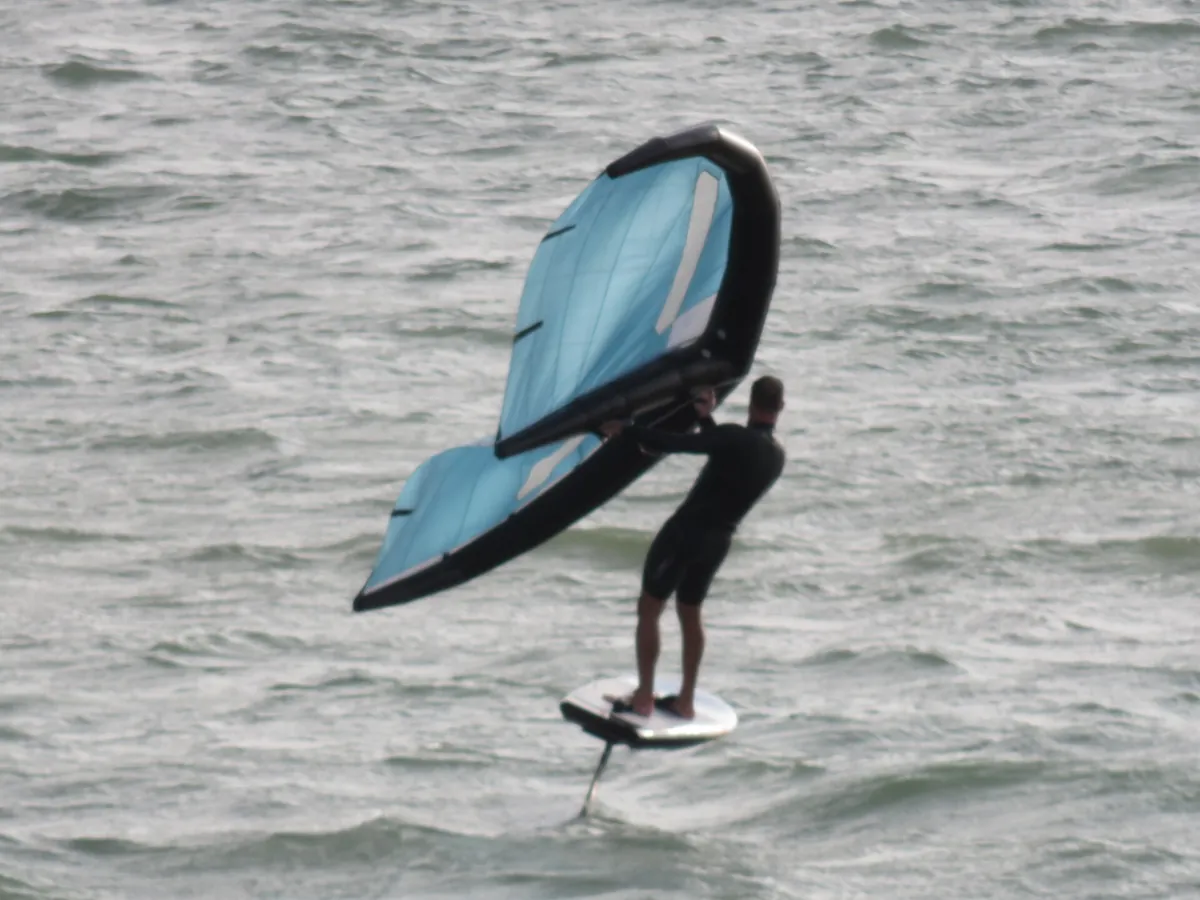
Managing the ride height
Ride height is controlled with your body weight, not the wing:
- To rise: shift your weight slightly onto the back foot. The foil pitches up, the board climbs.
- To drop: shift your weight slightly onto the front foot. The foil pitches down, the board comes down.
- To hold steady: weight centred, knees bent in 'active suspension'. Your legs act as shock absorbers.
🔹 Drill: rising and dropping in flight
In stable flight, practise deliberate height changes: climb 20cm, drop back down, settle. Repeat 10 times. You'll build the sensitivity you need to hold your ride height in any conditions.
Edge control
The edge is the angle of the board to the surface of the water. A good edge keeps the foil producing steady lift:
- Inside edge (foil side): press on the foil-side foot to engage the foil and hold the lift
- Too much edge: press too hard and the foil stalls and you fall
- Not enough edge: the board sits too flat, and the foil won't lift efficiently
Weight distribution
Weight distribution is the finest factor in stable flight. It breaks down into three axes:
- Fore/aft: controls ride height (see above)
- Left/right: controls the edge, and so your line
- Up/down: knees more or less bent, acting as suspension
All three axes work continuously and at the same time. At first you'll control them consciously, one at a time. With experience they become automatic – like riding a bike.
5. Transitions: the tack and the gybe
Transitions are the rite of passage from beginner to independent wing foiler. Being able to turn means you can sail in any direction and get back to your starting point.
The tack (turning through the wind)
The tack turns you through the wind. It's the simplest transition for beginners, because the wing naturally passes from one side to the other as it crosses the eye of the wind:
- Start the turn: shift your weight onto the front foot; the board begins to pivot up into the wind
- Pass the wing: once the board is head to wind, switch hands so the wing moves in front of you
- Reset your feet: swap your stance (the front foot becomes the back foot)
- Power back up: bring the wing down into the new power zone and set off
🔹 Tip for the tack
Timing decides it. Pass the wing at the exact moment the board is head to wind. Too early and the wing is in the wind and drops. Too late and you've passed through the wind and the wing is caught aback. Aim for the moment the wing's pull disappears (the eye of the wind).
The gybe (turning downwind)
The gybe turns you downwind. Faster and smoother than the tack, but more demanding technically, because the wing crosses the power zone (and so pulls hard) during the turn:
- Start the turn: shift your weight onto the back foot; the board pivots downwind
- Pass the wing through the power: as the board turns, swap the wing to the other side – it will cross the power zone
- Manage the pull: the wing will briefly pull hard – bend your knees and absorb it
- Reset and set off: once the wing is across, reset your feet and resume flight
The gybe is the transition everyone wants. Once you have it, you can string turns together in both directions without losing speed or ride height.
Reckon on 12 to 20 sessions for transitions to become smooth. Start with the tack (easier), then bring in the gybe. Every transition you crack is another level of freedom on the water.
6. Pumping: generating speed in light wind
Wind dropping? Don't panic. Pumping is the technique that lets you generate speed artificially by combining leg and wing movements. It's what separates a rider who needs the wind to behave from one who doesn't.
The mechanics of the pump
Pumping rests on two synchronised movements:
- Pumping the foil (legs): press firmly on the back foot to make the foil dip and accelerate, then shift your weight forward to bring it back up. Repeat in a cycle.
- Pumping the wing (arms): drop the wing to generate drive, then bring it back up to reload. The movement is broad and smooth, not jerky.
🔹 The four-beat pump sequence
1. Press on the back foot + drop the wing (the foil accelerates and dips).
2. Shift your weight forward + raise the wing (the foil climbs).
3. Return to centre, knees bent.
4. Repeat the cycle every one to two seconds.
Rhythm is the key
An efficient pump needs a steady, smooth rhythm, with each cycle a continuous wave of motion rather than a series of jerks. Pump too fast and the foil stalls. Too slow and you lose the lift. Find your own rhythm, which will differ with your weight, your foil and the conditions.
Pumping is also the key technique in prone and SUP foiling, where it replaces the power of the swell to keep you flying.
7. The gybe with the wing: the advanced turn
The gybe is the signature turn in wing foiling. It's the manoeuvre that lets you change direction while keeping your speed and your style. It combines passing the wing, edging the board and managing the foil in one continuous movement.
The phases of the gybe
- Preparation: check you have enough speed and ride height. A gybe is done in stable flight, not skimming the surface.
- Committing to the turn: shift your weight onto the back foot and the foil side. The board begins to pivot and the foil engages the turn.
- Passing the wing: halfway through the turn (downwind), swap the wing to the other side. This is where a gybe is won or lost, because the wing crosses the power zone.
- Exiting the turn: reset your feet, recentre your weight and bring the wing down into the new power zone.
Gybe variations
- Touch-down gybe: the board touches the water during the turn (the beginner version, safer)
- Foiling gybe: the foil stays airborne throughout the turn (the advanced version, more spectacular)
- Gybe in the wave: uses the face of the wave to help the turn – the holy grail of wave wing foiling
Fancy riding in waves? Discover the best UK wing foiling spots to progress in real conditions, from sheltered flat-water harbours to exposed Atlantic beaches.
8. Common mistakes and how to fix them
Every wing foiler makes these mistakes. Knowing them saves you whole sessions of progress.
Mistake: the wing drops into the water at take-off
Cause: the wing is too low or the wind is too light. → Fix: raise the wing to at least 45°, wait for a gust or change spot.
Mistake: the foil noses in and you fall forwards
Cause: too much weight on the front foot at take-off. → Fix: move your feet back 5 to 10cm and keep your knees bent to absorb.
Mistake: the foil won't lift despite the speed
Cause: too much weight on the back foot, or the foil is poorly set (angle of incidence too low). → Fix: move the front foot forward 3 to 5cm, or check the shim on the stabiliser (rear wing).
Mistake: the wing goes back during the turn
Cause: the hand switch is too slow or out of sync with the board turn. → Fix: re-practise the hand switch on land 20 times, then start the turns again in shallow water.
Mistake: the foil oscillates up and down in flight (porpoising)
Cause: over-correcting your weight – you correct too hard or too late. → Fix: reduce the size of your weight corrections. Think 'micro-adjustments', not 'big movements'. Look at the horizon, not the board.
Mistake: can't pump efficiently
Cause: legs and wing out of sync, or the rhythm is too quick. → Fix: slow the cycle down. A good pump is one movement every 1.5 seconds. Start by pumping with the legs only, then add the wing gradually.
Safety matters throughout your progression. See our wing foiling safety page for the essential rules.
9. Progression timeline by level
The typical path for a reasonably fit adult riding two or three times a week in 12–18 knots (14–21 mph):
🟢 Level 1: Wing control
Sessions 1 to 3
Master the wind window, the neutral position and the power position. Switch hands on land. Walk with the wing in shallow water. Aim: feel the pull and learn to dial it up and down.
🟢 Level 2: First steps on the board
Sessions 3 to 5
Get up on a big board with no foil. Sail in a straight line, turn, fall off and get back on. Build balance and confidence. Aim: be on your feet 50 per cent of the time.
🟡 Level 3: First take-offs
Sessions 5 to 8
Introduce the foil. Feel it lift, fly for two to five seconds, settle back down under control. Find the sweet spot. Aim: take off at least once per session.
🟡 Level 4: Stable flight
Sessions 8 to 12
Fly for 10 to 30 seconds, controlling the ride height. Start steering and carving. The foil no longer drops with every shift in the wind. Aim: continuous flight over 100-plus metres.
🟠 Level 5: Transitions
Sessions 12 to 20
Smooth tacks through the wind. First gybes downwind. Getting back to the start without paddling. Aim: sail a full triangle.
🟠 Level 6: Pumping and independence
Sessions 20 to 30
Pump efficiently to keep flying in light wind. Sail in a variable wind (10–20 knots / 12–23 mph). Start riding in small waves. Aim: full independence in moderate conditions.
🔴 Level 7: Accomplished rider
Sessions 30 to 50
Smooth gybes in both directions. Wing foiling in waves. Basic tricks (foiling gybe, switch stance). Sailing in strong wind (20–25 knots / 23–29 mph). Aim: ride in all safe conditions.
🔴 Level 8: Advanced rider
Sessions 50+
Advanced transitions (foiling gybe, gybe in the wave). Basic freestyle. Downwinders (long downwind runs). Aim: performance and style.
Arrive from SUP and you can knock roughly 30 per cent off that timeline, because the balance is already there. From kitesurfing, closer to 40 per cent, since you can already read wind. From windsurfing, around half, with the riding stance and the wind both familiar. A complete newcomer to watersports, meanwhile, should budget for at least 15 to 25 sessions to reach level 4.
Ready to take it up a level? Plan your next sessions around the best UK watersports spots to progress faster in the right conditions.
Frequently asked questions about wing foiling techniques
How should you hold the wing when learning to wing foil?
Hold the wing with both hands on the handles: front hand on the front handle, back hand on the back handle. Arms slightly bent, wing overhead in the neutral position (the zenith). Always keep the wing facing the wind while you learn. The front hand sets the angle of attack, the back hand controls the power.
How do you make your first take-off in wing foiling?
For your first take-off, set off across the wind in a steady 12 to 15 knots (14 to 17 mph). Bring the wing gradually into the power zone at around 45 degrees. Build speed with your weight centred over the board. As the foil starts to lift, stay calm, knees bent, and avoid sharp corrections. Early flights last two to five seconds, which is completely normal.
How do you complete a transition (turn) in wing foiling?
A wing foiling transition combines two movements: turning the board (shifting weight onto the front foot and pivoting) and passing the wing (switching hands so it moves in front of you and the back hand becomes the front hand). Practise the hand switch on land 15 times first. On the water, start the turn by shifting weight onto the front foot, pivot the board and pass the wing at the same time. Reckon on 12 to 20 sessions for it to become smooth.
How do you pump in wing foiling to gain speed?
Pumping in wing foiling combines two synchronised movements: pressing back onto the rear foot to accelerate the foil, and a pumping motion of the wing (down then up) to generate drive. Rhythm is what makes it work, so keep the motion smooth and steady rather than jerky. Press on the rear foot, drop the wing, then bring it back up as you shift your weight forwards. Repeat every one to two seconds.
How many sessions does it take to master the basic wing foiling techniques?
Reckon on 8 to 15 sessions to master the basics: taking off, stable flight of 10 to 30 seconds and your first turns. For intermediate techniques (smooth transitions, pumping, gybing in waves), budget 20 to 40 sessions. A background in SUP, kitesurfing or windsurfing cuts these figures by 30 to 50 per cent.