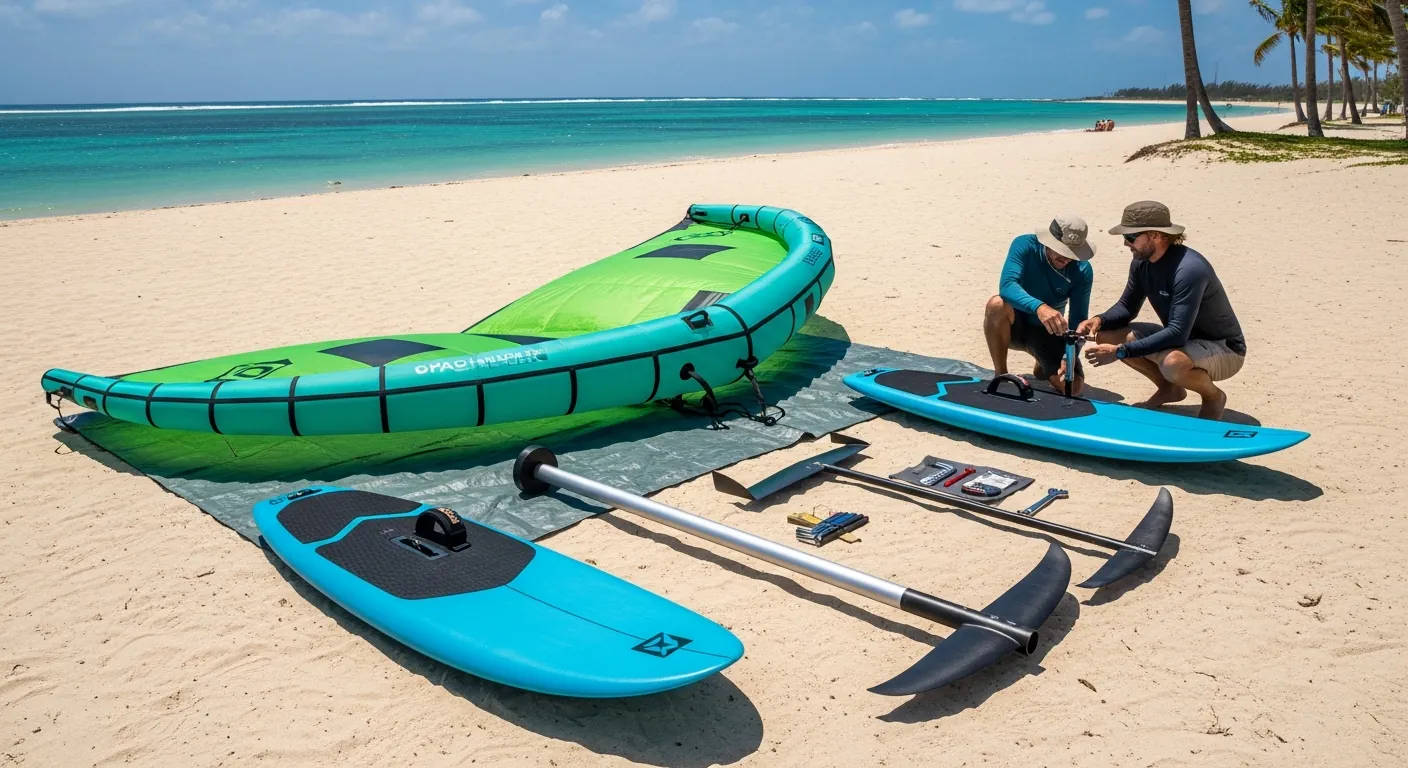
Nothing slows a new wing foiler down like the wrong-sized kit: a wing that won't pull, a board that won't float you, a foil that needs speed you haven't got yet. Match the set-up to your weight, your level and the wind your local spot actually gets, and you'll spend far more of each session on the board. Here's what to look for, part by part.
1. Wing sizes: 3 to 6m², which wing to start on?
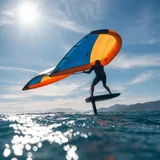
The wing is the engine of your wing foiling set-up. Its size sets the power available in different winds. Get it wrong and you either don't move (wing too small) or get overpowered (wing too big).
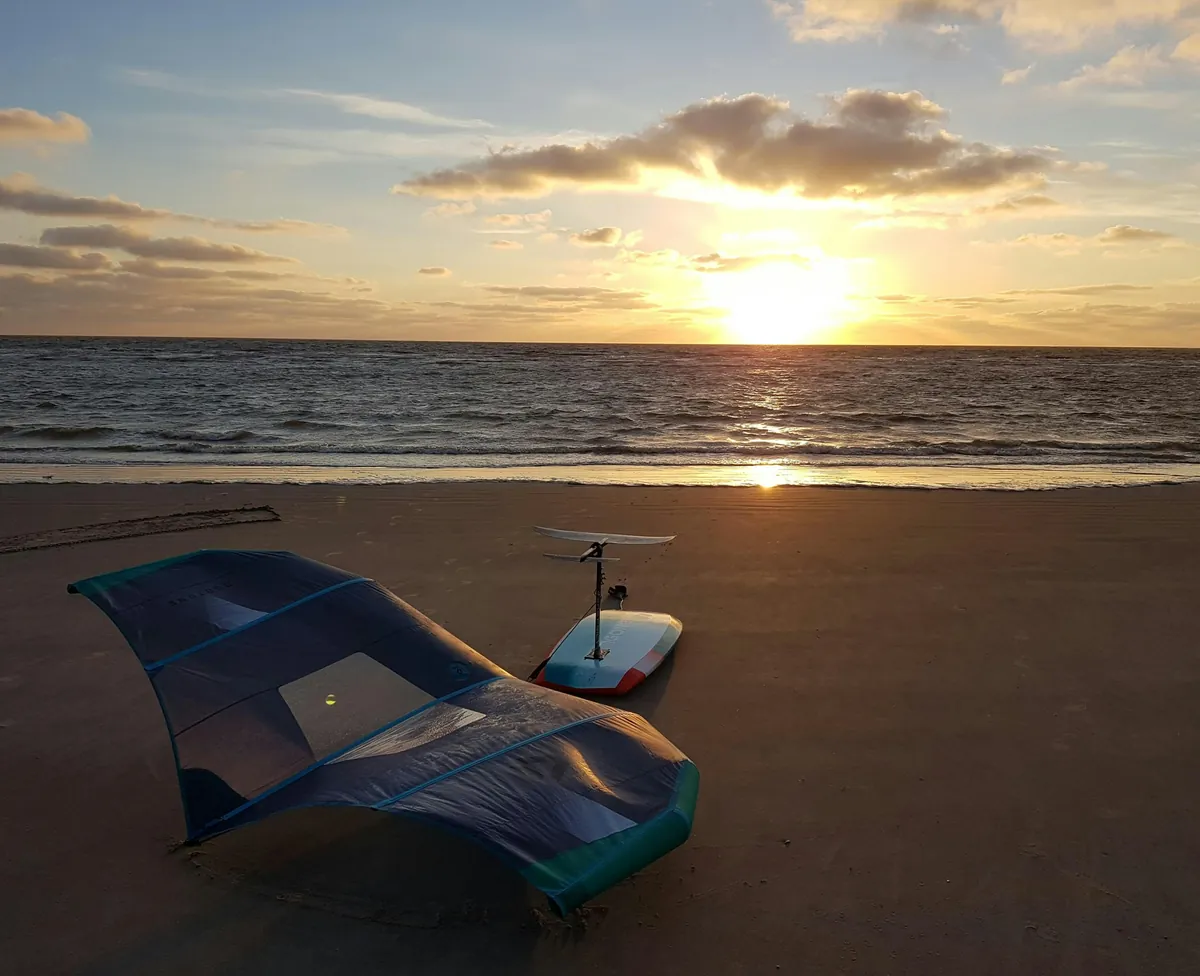
The size range
- 3m²: a light wing for strong wind (25–35 knots / 29–40 mph) and experienced riders after manoeuvrability and speed.
- 4m²: versatile in 18–28 knots (21–32 mph). The ideal size for a lighter beginner (under 70kg), or for riding in a solid breeze once you reach intermediate level.
- 5m²: the benchmark size for learning. It strikes a good power-to-control balance in 12–20 knots (14–23 mph): the everyday conditions at most UK spots. Suits riders of 70 to 90kg.
- 6m²: a powerful wing for light wind (10–16 knots / 12–18 mph) or heavier riders (90kg-plus). Handy early in a session while the wind is still light, but quickly cumbersome as it builds.
Rigid-frame wings: the beginner's friend
Modern wings fall into two camps:
- Rigid-frame wing (stiff strut / hard window): the struts are reinforced with rigid elements and the side panels have clear windows (TPU). That keeps the wing in shape in flight, even at low speed, which makes it far more stable and predictable. This is the recommended choice for learning.
- Soft wing (no windows): lighter and more compact once packed, but it needs a more precise angle of attack to hold its power. Best left to intermediate and advanced riders after responsiveness.
For your first wing, go for a 4 or 5m² rigid-frame model. It gives the best stability-versus-versatility balance for learning. Once you're independent, a 3–4m² soft wing is ideal for stronger-wind sessions. For the wider picture, see our complete guide to wing foiling.
2. Wing types: inflatable vs rigid, handles vs boom
Beyond size, the wing's structure has a direct bearing on how comfortable it is and how quickly you learn.
Inflatable wing (LEI: leading-edge inflatable)
This is the current market standard. The wing pumps up with a hand pump (recommended pressure: 6–10 PSI). Advantages:
- Rigid once inflated: the wing holds its aerodynamic shape, maximising lift and stability.
- It floats: let go and it sits on the surface waiting for you, which counts for a lot if you fall a long way out.
- Impact protection: the inflatable tube cushions knocks (handy while you learn and the wing touches the water or the board).
Rigid wing (hard wing)
Still niche, the rigid wing is a non-inflatable composite. Lighter and higher-performing, but far more fragile in a knock and noticeably pricier. Not recommended for learning.
Wing with handles vs wing with a boom
- Rigid handles: the current standard. Two handles (front and back) give good control and allow the hand switch for turning. Rigid handles transmit the feel of the wind better than soft webbing handles.
- Boom: some wings use a boom (as in windsurfing), giving two-handed control along a rigid bar. More stable for beginners, but it limits movement and the hand switch. Ideal for riders coming from windsurfing.
- Wing with no handles (wingsurf): held directly by the struts. Ultra-minimalist, but it needs a good level. Avoid it for learning.
Inflatable wing with rigid handles
The default choice for learning. Two to three minutes to pump up, a rigid frame for stability and solid handles for control. Sizes 4–5m² to start.
3. Wing foiling boards: SUP-foil vs dedicated board
The board choice is crucial to your progress. Too small and you spend your time in the water. Too big and you never progress towards flying. Two categories cover almost everyone.
The SUP-foil board (a SUP with foil inserts)
A standard SUP fitted with foil inserts (mounting plates) in the middle of the board. This is the most common way to start wing foiling:
- Volume: 150 to 220 litres – huge float, very stable, ideal for learning to get up and manage the wing without stress.
- Versatility: the same board doubles as a SUP (summer, no wind) and a wing board (whenever the breeze fills in). Excellent value for use.
- Downside: bulky and heavy to carry. Once you fly regularly, you'll want something more compact.
The dedicated wing board
Designed specifically for wing foiling, these boards are more compact and manoeuvrable:
- Beginner volume: 100 to 150 litres. Enough to float a 70–90kg adult with a comfortable margin of stability.
- Shape: shorter and wider than a SUP, with a rounded nose and a swallow or square tail. The rails are thick for float.
- Construction: inflatable (drop-stitch) for toughness and easy transport, or hard (PVC sandwich / carbon) for performance and light weight.
- Advantages: more responsive, easier to carry and better suited to progressing towards flying and transitions.
Volume rule of thumb: to start, aim for a board whose volume (in litres) equals your body weight (in kg) plus 40 to 60. An 80kg rider should look at a 120 to 140 litre board. Want to structure your learning? See our guide to getting started with wing foiling and the stages of progression.
Inflatable SUP-foil board
Ideal for your very first steps: 150–200 litres, very stable and usable as a SUP too. Perfect if you want a single bit of kit for two sports.
Dedicated wing board (hard or inflatable)
More compact (100–150 litres), more responsive and built for the foil. The recommended choice if your goal is 100 per cent wing foiling.
4. The foil: parts and choices for beginners
The hydrofoil is what lifts you clear of the water. Understanding its parts is essential to getting the choice right, because an unsuitable foil makes learning needlessly hard.
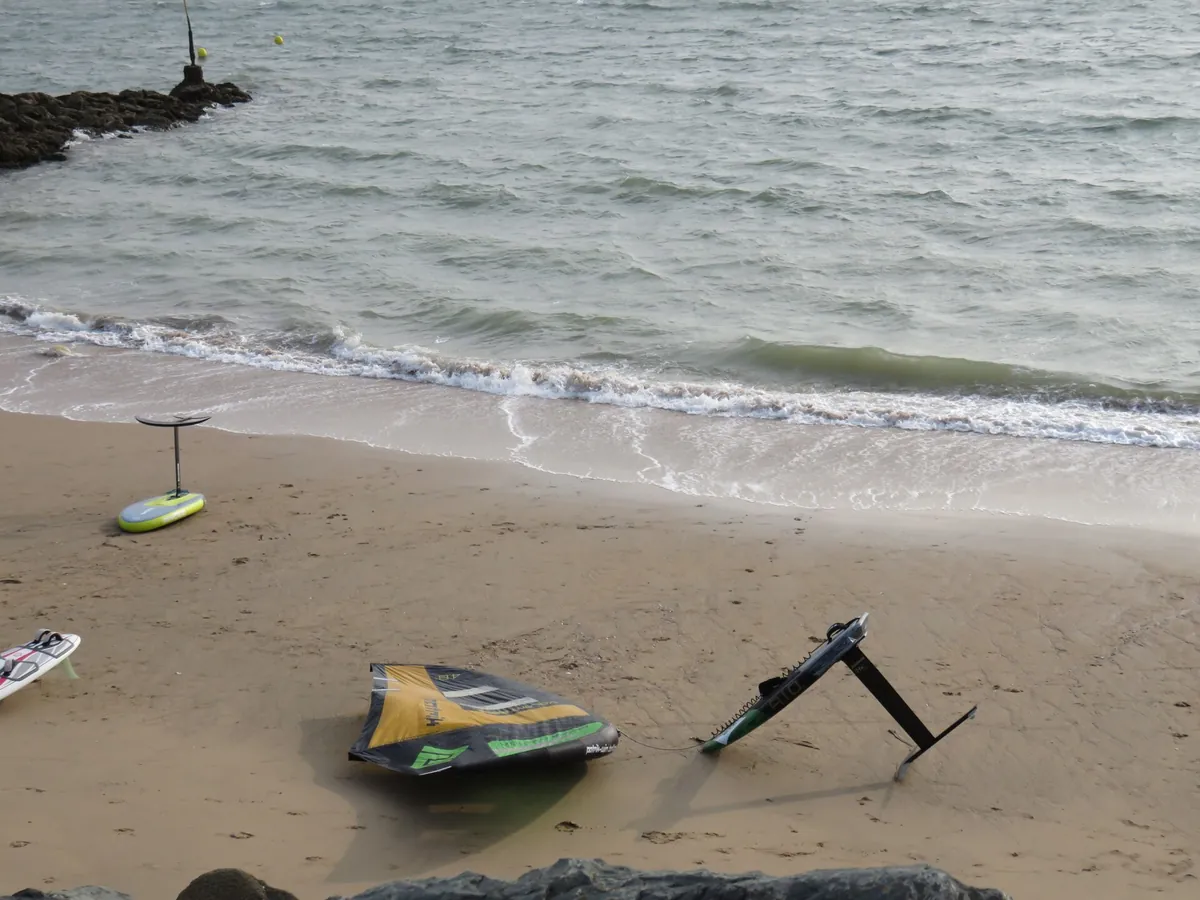
The four parts of the foil
- The mast: the vertical strut connecting the board to the front wing. To start, a mast of 75 to 85cm is recommended. Shorter is more forgiving (the board touches down more gently when the foil loses lift). A mast of 90cm-plus is for accomplished riders.
- The fuselage: the horizontal bar linking the mast to the wings. A short fuselage (40–50cm) gives more stability and manoeuvrability. A long fuselage (60–80cm) adds lift but makes the foil twitchier and harder to control, so leave it for later.
- The front wing: this is what generates the lift. To start, choose a surface of 1,500 to 2,000cm². The bigger it is, the sooner the foil flies and the more it forgives mistakes. A thick, cambered front wing is more stable than a thin, flat profile.
- The rear wing (stabiliser): smaller (300–500cm²), it stabilises the foil in pitch. To start, a bigger stabiliser gives more stability.
Foil materials
- Aluminium: the value choice. Aluminium masts and fuselages are tough and affordable. The wings are often machined aluminium, a little heavier but very robust. Perfect for learning.
- Carbon: lighter, stiffer and higher-performing. Carbon cuts the total weight and boosts responsiveness. Best kept for riders after performance, or for wing foiling in waves.
- Composite: a compromise between aluminium and carbon. Good value for intermediate riders.
Aluminium beginner foil
Mast 75–85cm, short fuselage (40–50cm), front wing 1,500–2,000cm² in aluminium. Tough, forgiving and affordable, which is exactly what learning to fly asks for.
Carbon foil (intermediate/advanced)
Lighter and more responsive, for riders who want to fine-tune performance. Front wing 1,200–1,800cm². Worth considering after 20–30 sessions of wing foiling.
Starting out and want a forgiving foil? Go for a large, thick front wing (1,800–2,000cm²), a 75cm mast and a short fuselage (40cm). This set-up maximises stability and minimises heavy falls. To dig into the moves, see our page on wing foiling techniques.
5. The essential accessories
The wing foiling set-up is more than the wing, the board and the foil. Five other items earn their place in the van.
Helmet
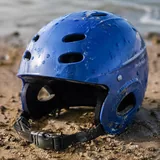
The foil is a sharp object moving at 12–19 mph (20–30 km/h) under your board. In a fall, the risk of a cut is real. Always wear a watersports helmet, ideally with ear protection. Dedicated watersports helmets are built to stand up to salt water.
Impact vest
The impact vest protects the torso and ribs against knocks in a fall. It also adds buoyancy and a thermal layer. Essential, especially for beginners who fall often. Choose a model with certified impact protection.
Leash
The board leash connects your ankle (or your calf via a cuff) to the board. It stops the board drifting off in a fall, which would leave you adrift with just the wing. For wing foiling, go for a quick-release leash, which you can free one-handed in an emergency. A standard straight leash (not coiled) works well.
Pump
The wing and an inflatable board both need a pump. Invest in a double-action pump (inflating on both the push and the pull), which saves around half the time and effort. Aim for 6–10 PSI for the wing, 15–20 PSI for an inflatable SUP-foil board. Some higher-end pumps have a gauge so you can check the pressure.
Wetsuit
In UK water, the sea sits between roughly 6–8°C in winter and 17–18°C at the height of summer, so a wetsuit is sensible year-round:
- Summer (July–September): a 3/2mm steamer covers most conditions.
- Spring and autumn (April–June, October): a 4/3mm wetsuit, often with boots on the colder days.
- Winter (November–March): a 5/4mm wetsuit with a hood, plus boots and gloves for water down around 6–8°C.
Beginner safety kit
Helmet + impact vest + quick-release leash. The bare minimum for riding safely. Don't cut corners on the quality of these items.
Double-action pump
A double-action pump for the wing (6–10 PSI) plus high pressure for an inflatable board (15–20 PSI). Reckon on 3–5 minutes to pump up a wing, 8–12 minutes for a SUP-foil board.
6. How much to spend and where to prioritise
A full wing foiling set-up is a real investment, so it pays to spend where it matters. Put your money into the foil and the board first, as they have the biggest effect on how quickly you learn. A stable, forgiving foil and a high-volume board are worth far more to a beginner than a top-end wing.
You can save by choosing an aluminium foil over carbon, and an inflatable board over a hard one, without holding back your progress. Never economise, though, on the safety kit – the helmet, impact vest and leash. Many centres also rent complete set-ups, which is an excellent way to try wing foiling before you commit to buying.
7. New vs secondhand: what to buy where
Buy secondhand (no problem)
- The wing: an inflatable wing is a tough object. Check the canopy (no holes, no tears), pump it up and make sure it holds pressure for 30 minutes. Wings from 2023 onwards are excellent, so secondhand is a smart buy.
- The hard board: inspect for cracks, delamination and the state of the foil inserts (mounting plates). Slight yellowing of the foam is normal. Hard PVC/carbon boards are very durable.
- The aluminium foil: aluminium doesn't really fatigue. Check the mast and wings for any deformation, and the bolts and mounting plates for good condition.
Buy new by preference
- The leash: a worn leash can snap and lose you the board out to sea. Buy new, with a quick-release system.
- The helmet: a secondhand helmet may have taken invisible impacts that reduce its protection. Buy new.
- The impact vest: the protective foam loses its effectiveness over time and with compression. New recommended.
- The pump: secondhand pumps can have worn seals that leak. For such a critical tool, new is the way to go.
Secondhand checks for wing foiling kit: pump up the wing and test it holds air. Inspect the board's foil inserts (no play, no cracks). Check the foil mast (no bends, no corrosion). If the seller won't allow these checks, walk away.
8. Wing foiling brands worth knowing
The wing foiling market is led by established watersports brands that quickly built out their ranges. These are the names worth knowing, all widely available and well supported in the UK.
Duotone
A best-selling wing range and a complete line-up of wing, board and foil. Premium quality.
F-One
A French pioneer of foiling. Its wings and foils are long-standing market references.
Armstrong
Renowned foils with a modular system that grows with you, hugely popular with wave and downwind riders.
Ozone
Light, stable wings from a kite specialist, well regarded for easy handling and a broad wind range.
AFS
A French foil specialist producing high-performance carbon foils and complete wing set-ups.
North
A complete, well-finished range of wings, boards and foils, popular with beginners and improvers alike.
Axis
A foil specialist. Its foils are among the most modular and best-performing on the market.
Naish
A wide range of wing boards and foils with strong value, especially at the entry level.
Our beginner shortlist: a 5m² rigid-frame wing for stability and easy relaunch; a large aluminium foil (around 1,800cm² front wing) that forgives mistakes; and a high-volume inflatable board (around 130 litres) for a stable, confidence-building first season.
Wrap-up: the beginner wing foiling checklist
Run through this before you buy your beginner wing foiling gear:
- Wing: 4–5m², inflatable, rigid frame, solid handles, matched to your local wind range (12–20 knots / 14–23 mph)
- Board: 100–150 litres (volume = weight + 40–60), wide and stable, with foil inserts. A SUP-foil or a dedicated wing board
- Foil: mast 75–85cm, short fuselage (40–50cm), front wing 1,500–2,000cm². Aluminium to start
- Wetsuit: 3/2mm summer, 4/3mm spring and autumn, 5/4mm winter (to suit your region)
- Helmet: watersports-certified, ear protection, a snug fit
- Impact vest: the right size, foam in good condition, certified protection
- Leash: quick-release essential, the right length
- Pump: double-action for the wing, high pressure for the inflatable board
Want to structure your learning? See our guide to getting started with wing foiling, our advice on wing foiling techniques, and the essentials in our wing foiling safety guide. Ready to ride? Explore the best UK spots, or see where to wing foil by region and level in our guide to the best wing foil spots in the UK.
Frequently asked questions about beginner wing foiling gear
What size wing should you choose to start wing foiling?
To learn wing foiling, a wing of 4 to 5m² is recommended for an adult of 70 to 85kg in 15 to 20 knots (17 to 23 mph). Rigid-frame wings (stiff struts with clear windows) are more stable and ideal for learning. Under 70kg, a 4m² is plenty; over 85kg, a 5m² is more comfortable.
What board suits a wing foiling beginner?
A beginner should choose a board of 100 to 150 litres, wide and stable. A SUP-foil board (a SUP with foil inserts) is a great option to start on, because it gives loads of float and doubles as a SUP. A dedicated wing board will be more compact and manoeuvrable once you reach intermediate level.
What foil should you choose to start wing foiling?
To start, choose a foil with a front wing of 1,500 to 2,000cm² and a mast of 75 to 85cm. A large front wing gives more lift at low speed and forgives mistakes. A short fuselage (40 to 50cm) makes the foil more stable and easier to control. Aluminium is the recommended material for learning.
Is it better to buy wing foiling gear new or secondhand?
Buy the wing, a rigid board and an aluminium foil secondhand with confidence, as long as you inspect them carefully. Buy the leash, helmet, impact vest and pump new, as these are safety-critical and wear with use. The secondhand wing foiling market has been very active since 2023, so complete beginner set-ups are easy to find.
Which are the best wing foiling brands?
Well-regarded wing foiling brands include Duotone, F-One, Armstrong, Ozone, AFS, North and Axis. Each offers complete ranges (wing, board and foil) suited to beginners, and all are widely available and well supported in the UK.