

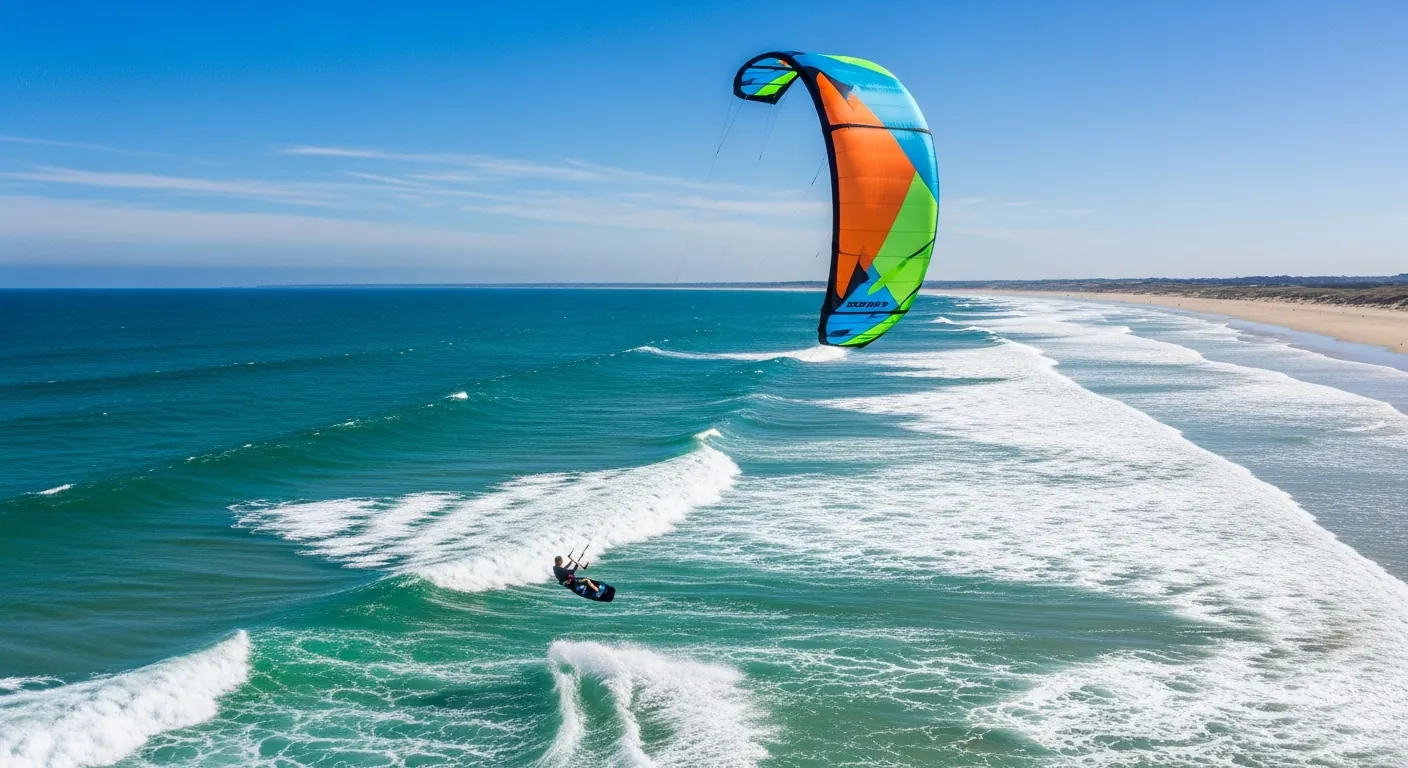
Once the waterstart clicks and your first unsupervised sessions are behind you, the next stage is manoeuvres. Kite relaunch, effective upwind riding, a smooth transition, toeside riding, your first jumps... these are the skills that turn a rider who can 'stand up' into a kitesurfer who can actually steer. This guide picks up where getting started with kitesurfing leaves off, to take you through the technical progression phase.
1. The kite relaunch: the safety reflex that makes you self-sufficient
A kite that drops into the water (a crash, a fall, a deliberate drop) needs to take off again without outside help. This is the skill that separates a rider who depends on a safety boat from a kitesurfer who can look after themselves on the water.
🔹 Step 1: Get to the edge of the window
Swim or body-drag to the wingtip (the end of the leading edge), not the centre. It's from the tip that a kite relaunches most easily, since it sits at the edge of the wind window, a low-power zone.
🔹 Step 2: Turn the kite into the wind
Pull the outer (rear) line at the tip to turn the leading edge into the wind. The kite then fills gradually from one side, without ever launching straight into full power.
🔹 Step 3: Fly it off from the edge
Once the leading edge has filled, steer gently towards the zenith while keeping the bar eased out. Never sheet in as your first move, or the kite takes off with a violent pull before you're ready.
Never pull the centre lines first – that flips the kite inside out and makes the relaunch far harder. Practise relaunching from your first unsupervised sessions, in moderate wind, before you actually need it in tricky conditions.
2. Riding upwind properly: stop drifting downwind of the spot
Unlike the basic upwind riding taught in lessons, proper upwind technique means combining your edge, body position and kite flying to gain the most ground against the wind on every leg.
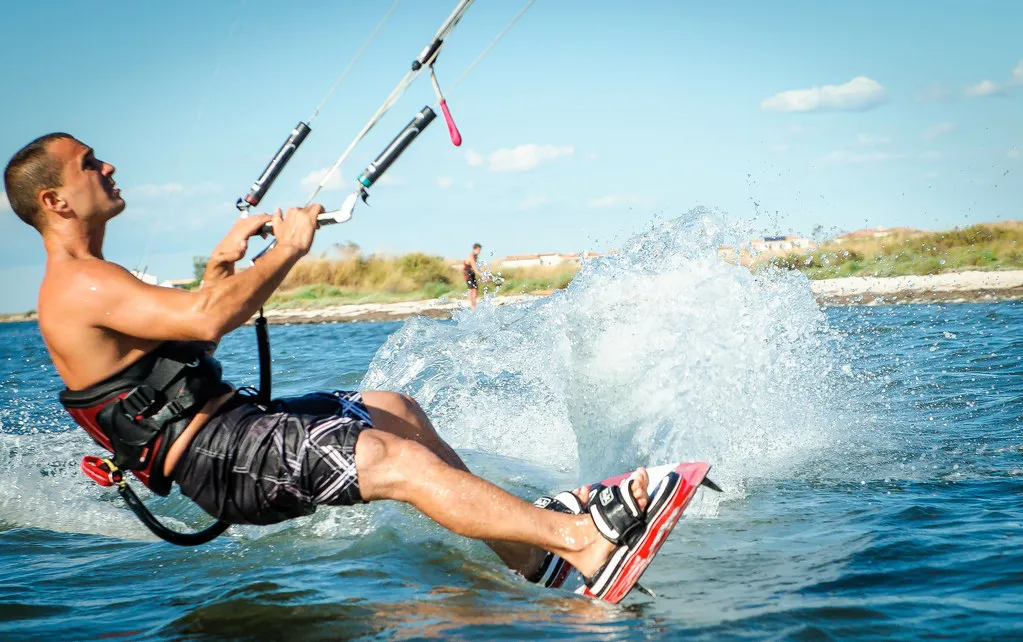
The edge: the difference-maker
Press hard through your heels (or toes, depending on the tack) to dig the rail of the board into the water. The harder the edge, the more the board resists sliding sideways. Many intermediate riders don't edge hard enough and lose ground on every session.
Kite position
Keep the kite low in the window (around 9 or 3 o'clock), never at the zenith when riding upwind. A low kite pulls more horizontally, which helps you drive upwind rather than lift you.
🔹 Body alignment
Line your body up with the pull: hips forward, shoulders square to the bar, eyes looking ahead along your line. A body that folds at the waist loses efficiency and tires the back.
Quick test: pick a fixed marker on the beach. If after a 2-minute close-hauled leg you're closer to it, your upwind riding is working. If not, edge harder and drop your kite lower.
3. The transition: changing tack without losing speed or power
A transition lets you change direction while keeping the same feet in the same straps, unlike a 'switch' which requires flipping your body position round entirely.
🔹 Step 1: Slow down and neutralise your edge
Ease off your edge slightly to slow the board, while keeping the kite in a moderate power zone (close to the zenith).
🔹 Step 2: Flatten and turn the board
Turn the board flat on the water by rotating your hips towards the new direction. At the same time, steer the kite across to the other side of the window, gradually flying the bar round.
🔹 Step 3: Edge in on the new tack
As soon as the board points in the new direction, edge in straight away to pick speed back up. A good transition never fully stops, it flows from one tack into the next.
Practise transitions first in moderate, steady wind (12 to 18 knots / 14-21 mph). Gusty wind makes it much harder to sync your kite flying with the board turn.
4. Toeside riding: facing backwards on the board
Toeside riding means riding on your toes, facing the back of the board, without swapping your feet around. It's an essential intermediate skill before tackling jumps with rotations and more advanced tricks.
Why it matters
Plenty of tricks (jumps with rotations, dynamic transitions, wave riding) require riding toeside at some point. A rider who has only mastered heelside (toes forward, heels edging) stays stuck in their progression.
🔹 A gentle transition drill
From normal riding, gradually rotate your chest and hips towards the back while keeping your feet fixed in the straps. Let your eyes lead the rotation: look over your shoulder before your body follows.
Toeside demands a sharper edge than heelside, since you're pressing on a smaller area of the foot. Practise on short legs before attempting longer runs.
5. Your first jumps: taking off and landing safely
Jumping is often the goal that drives progression in kitesurfing. Done properly, it doesn't need extreme wind, because technique counts for more than raw power here.
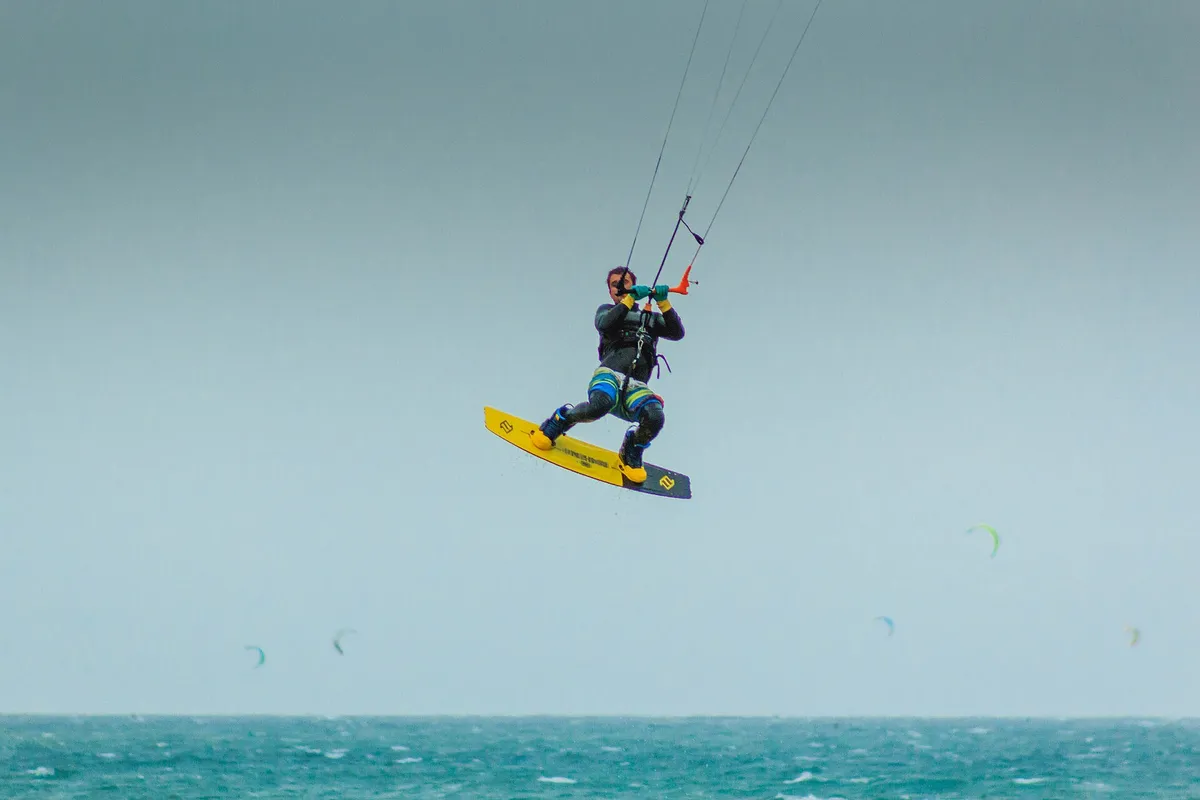
🔹 Step 1: Load the pull
Build speed on a tack, edge hard to load energy into the lines, like a spring being compressed.
🔹 Step 2: Release and send the kite
Release the edge sharply while gradually sheeting the bar in to send the kite up towards the zenith, or slightly beyond. It's this combined movement that generates the lift-off.
🔹 Step 3: Fly and land
In the air, reposition the kite slightly to control the height and length of the jump. Anticipate the landing by bending your knees before impact to absorb the shock, and dip the kite forward just before you touch down to relaunch your pull.
Start with low jumps in a steady 15 to 20 knots / 17-23 mph, on an open spot clear of any downwind obstacles. Height comes with confidence, so don't chase a big jump before you've nailed the landing.
6. Unhooked riding: more control, bar in hand
Riding 'unhooked' (bar in hand, not clipped into the harness) is the gateway to freestyle tricks: grabs, rotations, kite loops. It's also an excellent way to build bar control that's independent of your body.
The feel of direct pull
Without the harness to absorb the pull, your arms and core take the full force of the kite. Start with short spells riding unhooked, in light to moderate wind, to get your body used to the sensation.
Build up your forearms and core off the water with pull-ups and planks. Riding unhooked is physically demanding, and muscle fatigue is often the limiting factor, more so than technique itself.
7. Handling gusts and shifting wind
On most spots, the wind is never perfectly steady. Being able to absorb a gust or a lull without losing your balance is a skill in its own right.
- In a gust: ease the bar out slightly and bend your knees to soak up the extra power, rather than sheeting in further.
- In a lull: sheet in gradually and fly the kite in dynamic figure-eights to generate extra power without waiting for the wind.
- Anticipation: watch the water surface upwind (darker, choppier patches often mean more wind) to see changes coming.
Handling gusts is mostly learnt through experience. Stick to spots with steady wind (a settled thermal or a reliable prevailing breeze) before tackling more gusty conditions.
8. Common mistakes and how to fix them
Mistake 1: kite too high when riding upwind
The problem: keeping the kite near the zenith while riding upwind generates vertical lift instead of horizontal pull, costing you ground.
The fix: drop the kite to around 9 or 3 o'clock and edge harder through your heels.
Mistake 2: looking at the board instead of your line
The problem: eyes fixed on your feet throws your body off balance and slows down how quickly you can anticipate a manoeuvre.
The fix: always look towards your line or a fixed marker. Kite flying gradually becomes instinctive.
Mistake 3: jumping without releasing the edge
The problem: keeping the edge pressed while sheeting the bar in blocks the take-off and causes hard falls forward.
The fix: release the edge at the exact moment you sheet in. The two movements need to be coordinated, not sequential.
Mistake 4: relaunching the kite from the centre
The problem: pulling the centre lines first often flips the kite inside out and makes the whole relaunch harder.
The fix: always work from the wingtip and pull the outer line first.
9. Suggested progression by level
🟢 Post-beginner (0 to 50 hours)
Goal: a reliable relaunch, steady upwind riding, first attempts at a
transition.
Focus: edging, kite position, reading gusts. Getting started with kitesurfing covers the
fundamentals if these basics aren't nailed down yet.
🟡 Intermediate (50 to 150 hours)
Goal: a smooth transition, toeside riding, first low jumps, short spells
riding unhooked.
Focus: bar-and-body coordination, handling shifting
wind. Explore our kitesurf gear guide to match your kit to
this stage of progression.
🔴 Advanced (150+ hours)
Goal: jumps with rotations, grabs, controlled kite loops, riding in all
conditions.
Focus: kite loop timing, smooth transitions, adapting to
demanding spots. Explore the best UK kitesurfing spots to
mix up your conditions.
Just starting out? Our guide to getting started with kitesurfing covers wind theory, choosing a school and your first sessions. Once those basics are in place, come back here to structure your technical progression.
❓ Frequently asked questions about kitesurf technique
How do you relaunch a kite that's dropped in the water?
Swim or body-drag to the wingtip at the edge of the wind window, pull the outer line to turn the leading edge into the wind, then let the wind re-inflate the kite so it lifts off from one side. Never pull the centre lines first, or the kite flips inside out.
How do you ride upwind better in kitesurfing?
Edge hard through your heels, keep the kite low at the edge of the window (around 9 or 3 o'clock), line your body up with the pull of the kite and look ahead along your line. The lower the kite and the harder the edge, the more ground you make upwind.
What's the difference between a transition and toeside riding in kitesurfing?
A transition changes your direction while keeping the same feet in the same straps, by turning the kite and your body. Toeside riding means riding backwards, on your toes, without swapping your feet round, which is a key skill before learning jumps with rotations.
How do you land your first jump in kitesurfing?
Build speed, edge hard to load the pull, then release the edge while gradually sheeting the bar in to send the kite up towards the zenith. Bend your knees on impact to absorb the landing. Start with low jumps in a steady 15 to 20 knots / 17-23mph.

.jpg)