

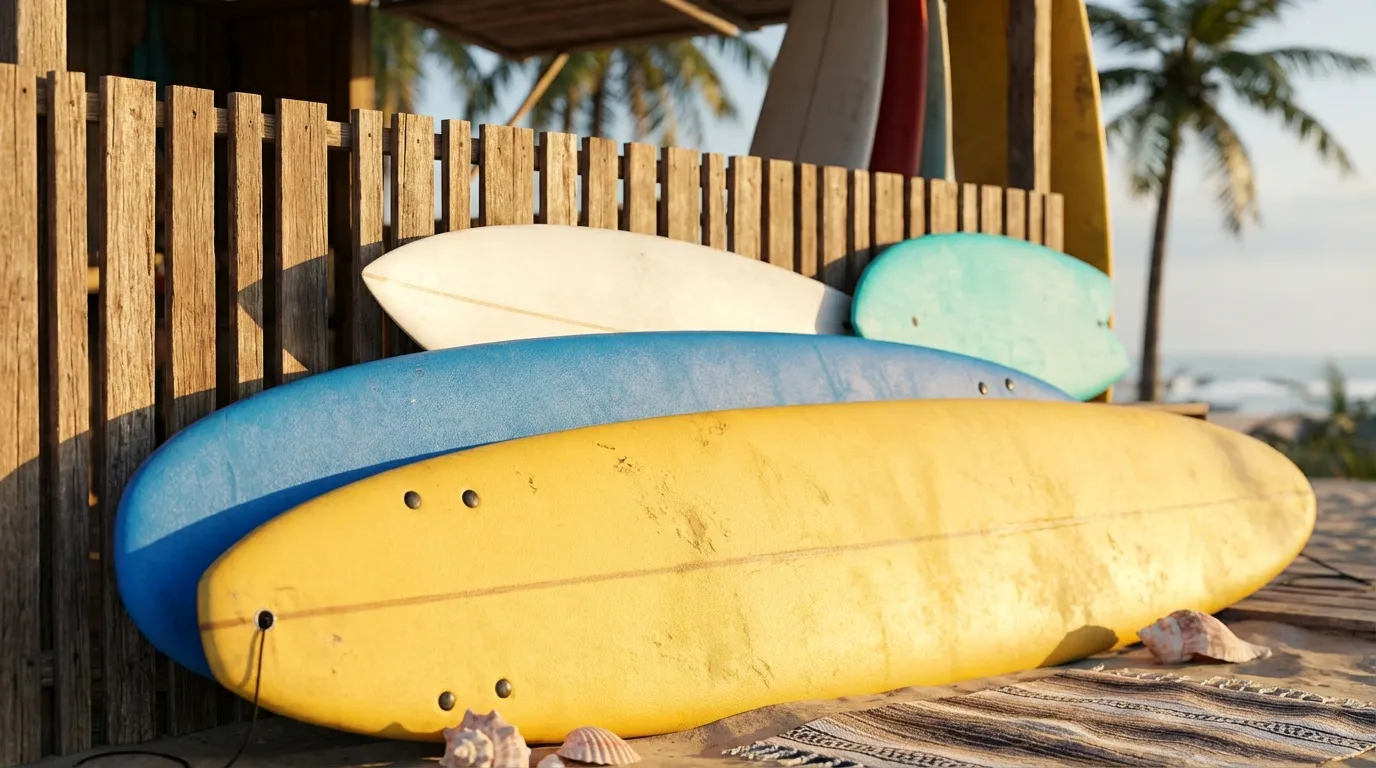
A rail clipped on a rock, a board that suddenly feels heavy: dings are part of owning boards, and with a surfboard ding repair kit a surprising amount is well within reach at home — provided you know which damage is yours to fix, what has to dry first, and which resin your foam will tolerate. Here is the triage, the rule, the method and the kit.
In short
A small cosmetic ding is a DIY job with a UV resin kit. The moment water reaches the foam, a crease runs across the deck or an inflatable SUP seam lets go: stop surfing, and think about a professional. And never put polyester resin near EPS foam — it melts it.
Ding repair triage: what can you fix yourself?
Everything starts with an honest diagnosis: what you should do next changes completely with the damage.
| Damage | DIY or pro? | Urgency |
|---|---|---|
| Pressure ding (glass intact) | Leave it, or cosmetic fill | None: keep an eye on it |
| Small open ding, foam dry | DIY with UV resin | Fix before the next surf |
| Open ding, waterlogged foam | DIY if small, after drying; pro if extensive | Stop surfing |
| Buckle / crease across the board | Pro in most cases | Stop now: boards snap there |
| Snapped board | Pro, or replacement | Not surfable as is |
| Soft-top delamination (bubble) | DIY with an EPS-safe system | Bubbles grow: don't sit on it |
| iSUP puncture | DIY, PVC patch | Fix before inflating hard again |
| iSUP valve leak | DIY, valve wrench | Often just needs tightening |
| iSUP seam failure | Minor: re-glue; extensive: pro, or end of life | Stop and assess |
The tell that settles it: a board gaining weight, foam that looks dark and spongy, water dripping out when you stand the board on its tail. Keep surfing in that state and you pump more water through the core. The only genuinely debated case is deck pressure dings: some ignore them entirely, others fill the deeper dents to head off future cracking. Judgement, not rule.
For the rest — a buckle, a snapped board, a large soaked area, a ripped-out fin box — a workshop does what a kitchen table cannot: open it up, dry it properly and re-laminate with the flex intact. Pricing varies by region and by shop; ask for a quote and weigh it against what the board is worth.
The resin rule: polyester, epoxy, PU, EPS
Polyester resin melts EPS foam: its styrene is a solvent for polystyrene, and it eats a crater where there was a small ding. On EPS, epoxy only. When in doubt, use epoxy — it is safe on both foams.
This is the one rule in all of ding repair that is genuinely dangerous to get wrong. Traditional boards pair PU (polyurethane) foam with a polyester lamination, and there polyester resin is exactly where it belongs. "Epoxy" boards and most soft-tops carry an EPS (expanded polystyrene) core, and there only epoxy will do — the heat the resin gives off as it cures makes the styrene attack worse still.
How do you tell what is under your feet? PU foam is cream-coloured and fine-grained; EPS is bright white with visible beads — the look of packing polystyrene — and brands usually label EPS boards "epoxy". If nothing settles it, the repair guides are unanimous: choose epoxy, which bonds safely to both foams. The only caveat is cosmetic: some laminators still prefer polyester on PU for a perfect colour and sanding match.
UV-cure resin or two-part resin?
UV resin tubes — Solarez, Phix Doctor, Ding All — contain a photoinitiator that stays dormant until it sees ultraviolet light: unlimited working time in the shade, no mixing, and a cure you trigger by carrying the board into the sun. Polyester UV formulas gel in 15 to 60 seconds and cure hard in 3 to 10 minutes of decent sun; Solarez quotes a minute or two for a small ding with its UV epoxy, around three for a bone-dry, sandable cure. It does need real UV — any sun strong enough to cast a shadow will do — and dedicated "Low-Lite" formulas exist for properly overcast skies.
One known trap in hot weather: as a board warms up, the air inside pressurises and can blow fresh resin back out through the ding. Solarez's advice is to let the board come up to temperature first, so the pressure vents, then cure in short bursts — especially on a dark board.
Two-part resin keeps its place on the workbench, for the big jobs — re-laminating, a buckle, large areas: a better finish, but precise measuring, a limited pot life and hours to a sandable cure. For the everyday ding, UV has won.
Fixing a small ding, step by step
- Stop and assess. Foam damp, dark or dripping? Then drain and dry before anything else. Foam dry: carry on.
- De-wax: scrape every trace of wax off a 2–3 cm margin around the ding, then wipe with acetone or isopropyl alcohol.
- Dry: a fresh, dry crack goes straight to the next step; a soaked area dries somewhere warm and ventilated, sometimes for days.
- Sand: 60–80 grit, extending 1–1.5 cm past the ding, until the fibreglass looks slightly furry. Mask the surrounding area with tape.
- Fill in the shade: UV resin will not set without sun. Fill completely; on a deep ding, build up in layers, curing each briefly. A scrap of plastic smoothed over the top leaves a flush contour.
- Cure in the sun (3–15 min): on a hot day, in short bursts, so internal pressure cannot push the resin out.
- Sand flush: 120–180 grit to level, then 220–240 to feather the edges — slightly damp at the fine grits so the paper doesn't clog.
- Optional: on a visible repair, a thin hot-coat of compatible resin, polished out. For a small ding, the UV fill is enough.
Budget 30 to 60 minutes of actual work, under 30 minutes of curing — and a drying time that runs from none at all to several days if the foam has drunk.
What goes in a surfboard ding repair kit
A surfboard ding repair kit fits in a wash bag:
- UV resin matched to your board: an epoxy tube for EPS, soft-tops and anything sold as "epoxy"; a polyester tube for a classic PU board.
- Sandpaper in three grits: 60–80 to key, 120–180 to level, 220–240 to finish.
- A piece of plastic sheet to smooth the resin to the board's contour.
- Masking tape, to protect the surrounding area and hold flat anything that needs it while it sets.
- Acetone or isopropyl alcohol and a clean cloth.
- Gloves, nitrile or latex.
- A wax comb to strip the repair zone bare.
If an inflatable SUP travels with you, add the valve wrench (usually supplied with the board), a spray bottle of soapy water for hunting leaks, and a small spreader for the PVC glue.
Soft-tops and inflatable SUPs: PVC, valves and seams
Soft-tops: for a ding that reaches the white EPS core, the Solarez soft-board system coats the exposed foam with UV epoxy first (cured 2–3 minutes in the sun), then covers it with a dedicated elastomer, Sponge-Rez. A delaminating skin: coat both faces, let them go tacky for 5–10 minutes, press together and tape shut overnight.
iSUP puncture: inflate the board and work soapy water across the deck, rails and valve — bubbles mark the leak. Clean a radius of 5 cm with isopropyl alcohol, lightly scuff both patch and board with 180–220 grit. Apply a thin coat of PVC adhesive to both faces (many guides recommend two or three thin coats), let it go tacky for 5 minutes, press the patch on from the centre outwards, weight it down, and wait 24 hours before inflating to full pressure — some manuals allow a 12-hour minimum; 24 is the common figure.
Valve leak: the simplest case — tighten the valve base with the supplied wrench, re-test with soapy water. If it still leaks, replacement is one for the brand or a workshop.
Seam failure: a short length re-glues with PVC adhesive, clamped for 24 hours or more. Extensive separation is another matter: brands tend to treat it as a warranty case or the end of the board's life — experienced tinkerers save some, others fail again under pressure. Be honest about the board's age before sinking time in.
Prevention beats filler
Heat first: in direct sun or a hot car, the air inside a board expands until the skin can part company with the foam — dark boards are especially exposed. A padded board bag, some shade and a cool rinse deal with most of it.
Deck dents come from knees and heels. A deck pad, wax only where you need it, and the habit of sliding onto the board rather than landing on it knees-first keep the divots down.
Travel, finally, is the great supplier of cracked rails and chipped noses: a well-padded bag with nose and tail protection, fins out when possible, nothing heavy on top, the board strapped down.
From here, see our surfboard buying guide — knowing what your board is worth is half the repair-or-replace decision — and our board bag guide, the cheapest way to avoid the next ding altogether.